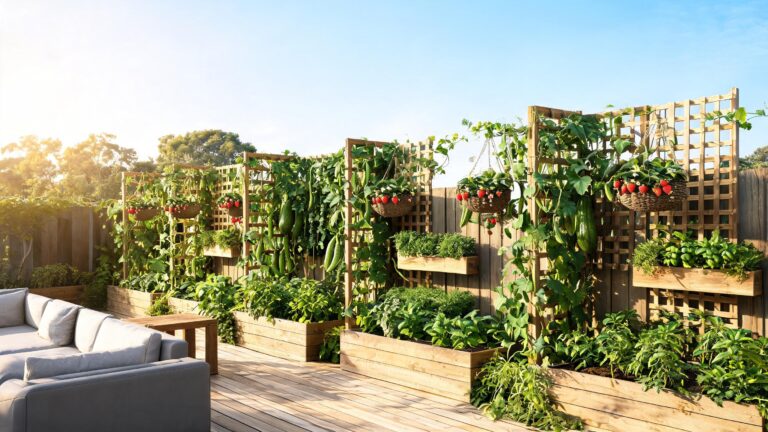
Preparing Garden Soil for Spring in NZ: A Complete Kiwi Grower’s Guide
If you want thriving vegetables, flowers, and fruit trees this season, preparing garden soil for spring is the single most important job on your September to-do list. Across Aotearoa, from the humid clay of Waikato to the volcanic loams of Auckland and the frost-hardened ground of Central Otago, soil that’s been fed, tested, and structured properly will outperform soil that’s simply dug over and planted into. This spring planting guide walks you through exactly what New Zealand soil needs right now, using local materials and Southern Hemisphere timing, so your whenua is ready to grow.
Quick Answer: How to Prepare Garden Soil for Spring in NZ
Preparing garden soil for spring in New Zealand means clearing winter weeds and old crops, testing and correcting soil pH, digging in aged compost or sheep pellets, loosening compacted clay with gypsum, and mulching to lock in moisture before the September–November planting rush begins.
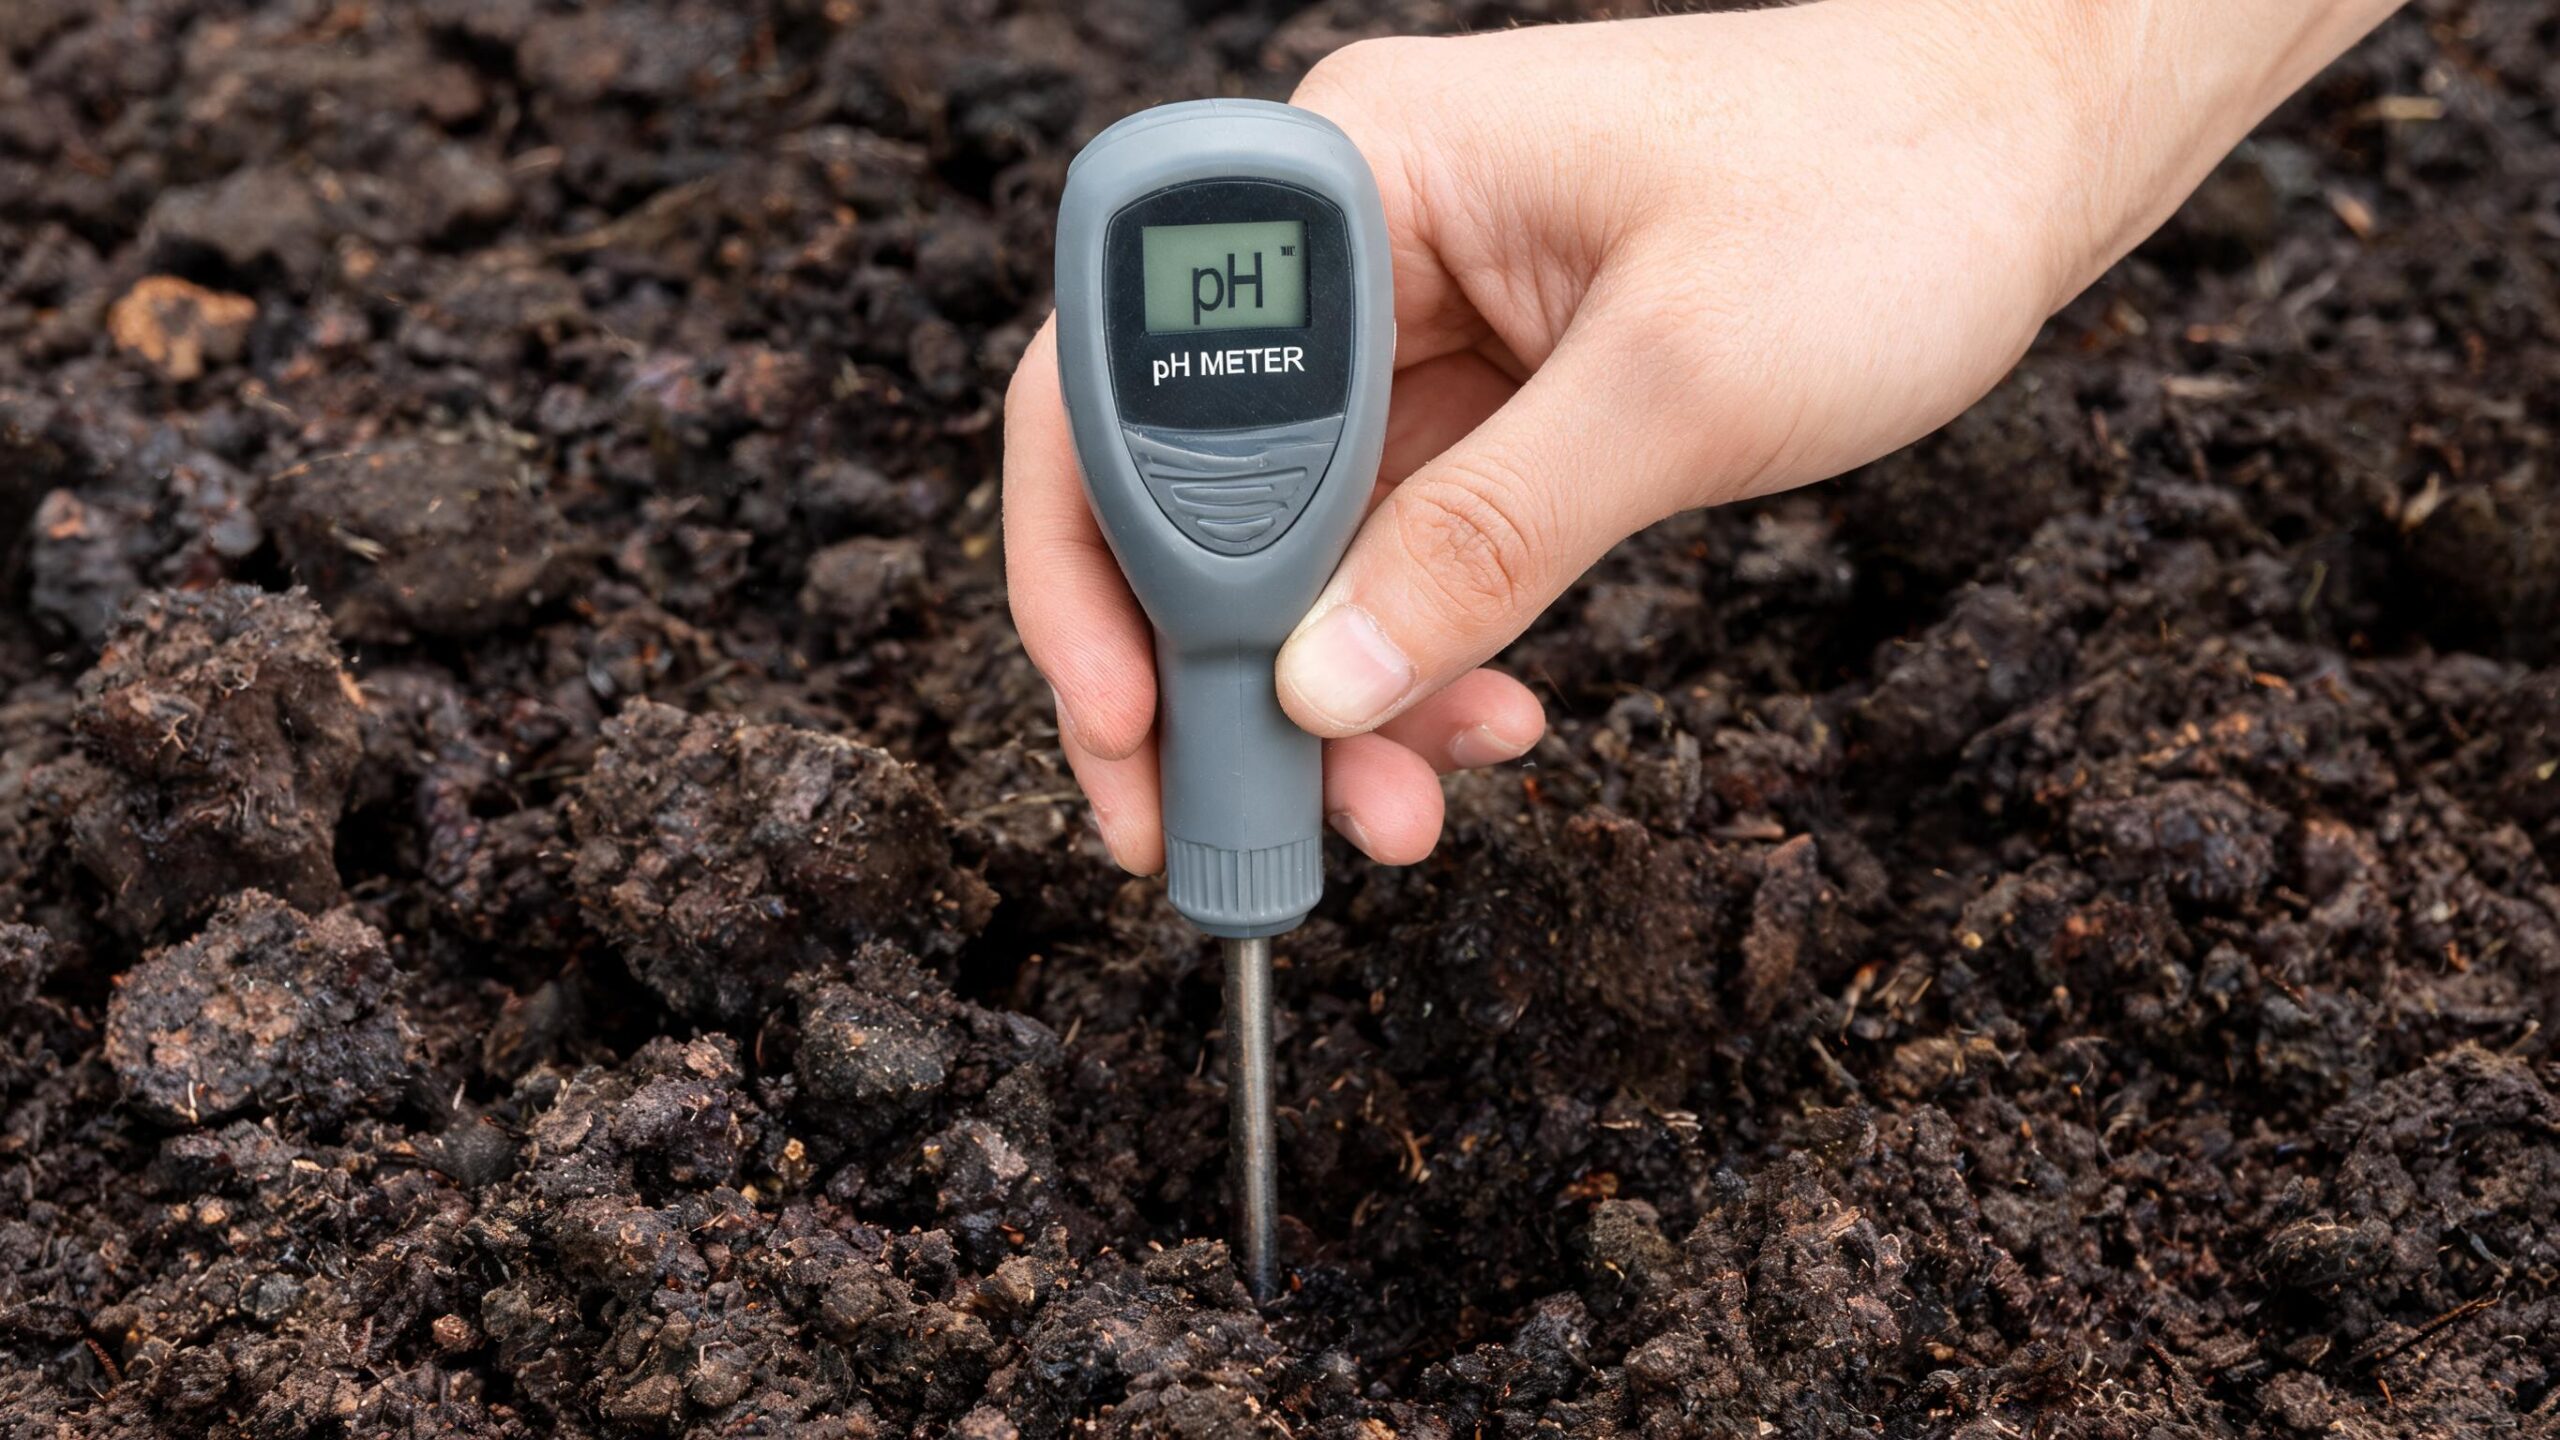
Test soil pH first — most NZ vegetable gardens sit acidic and benefit from lime.
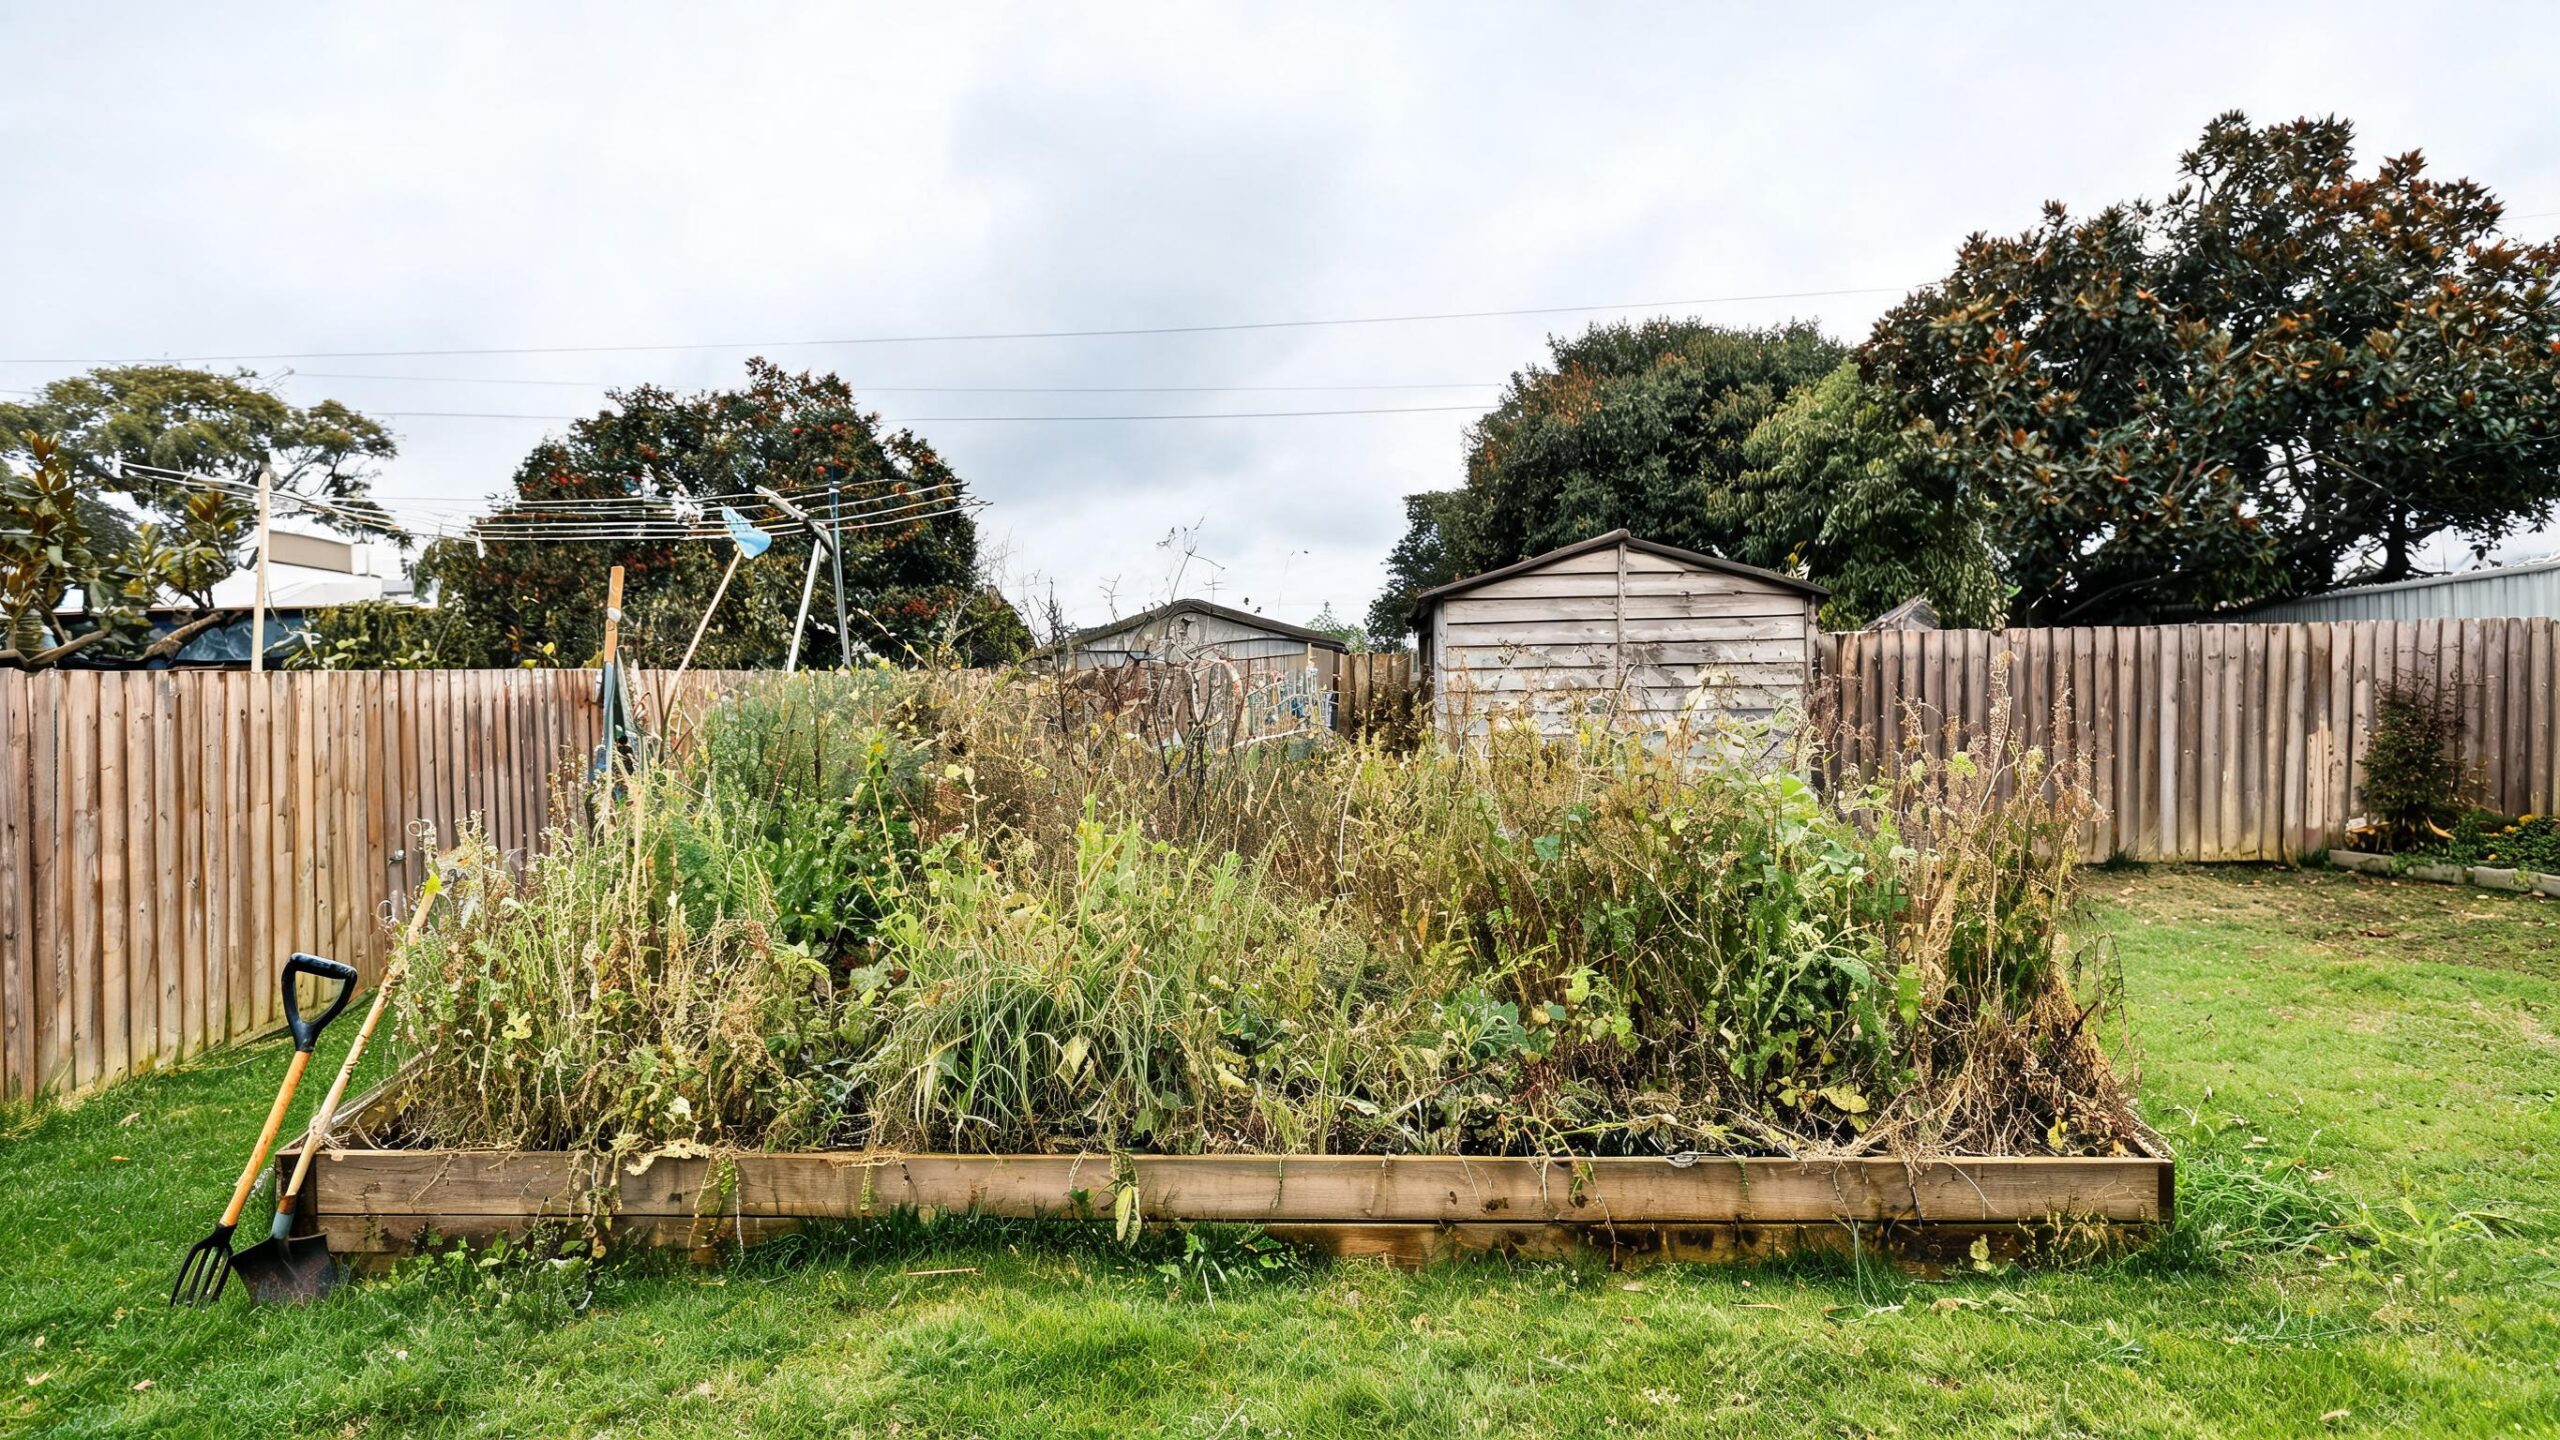
Remove spent winter crops and weeds, then fork over to 20–30 cm depth.
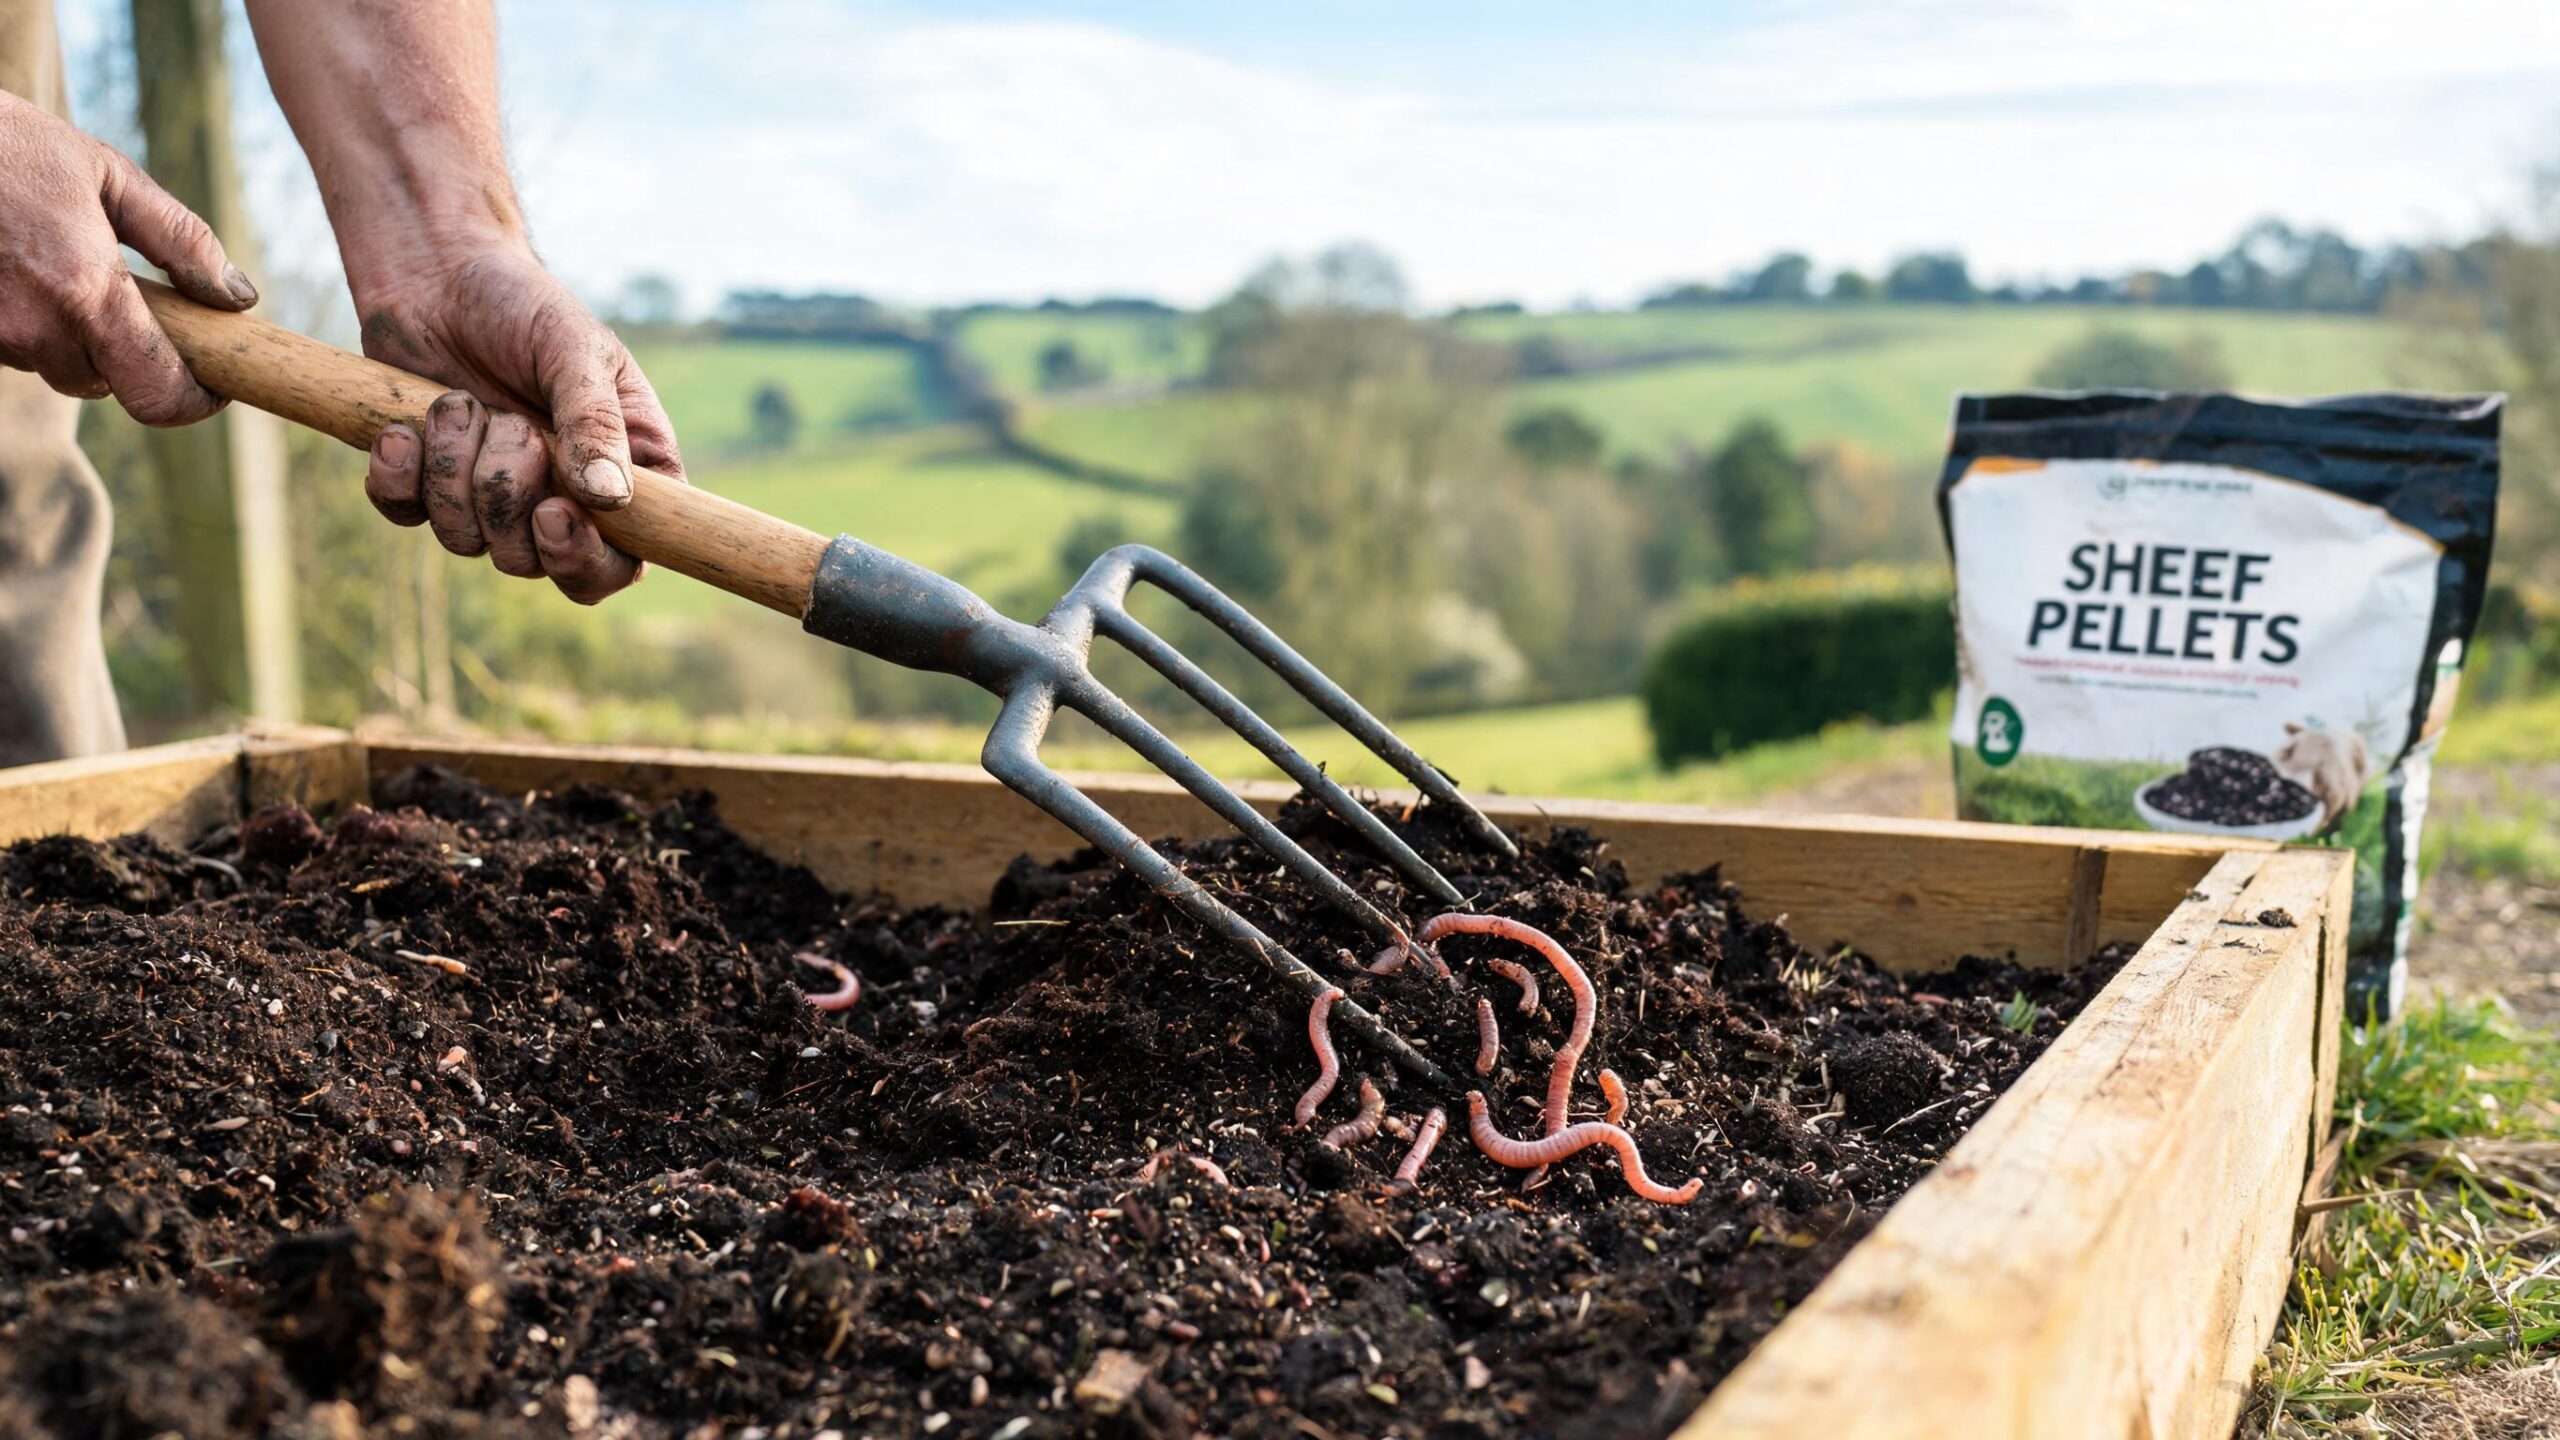
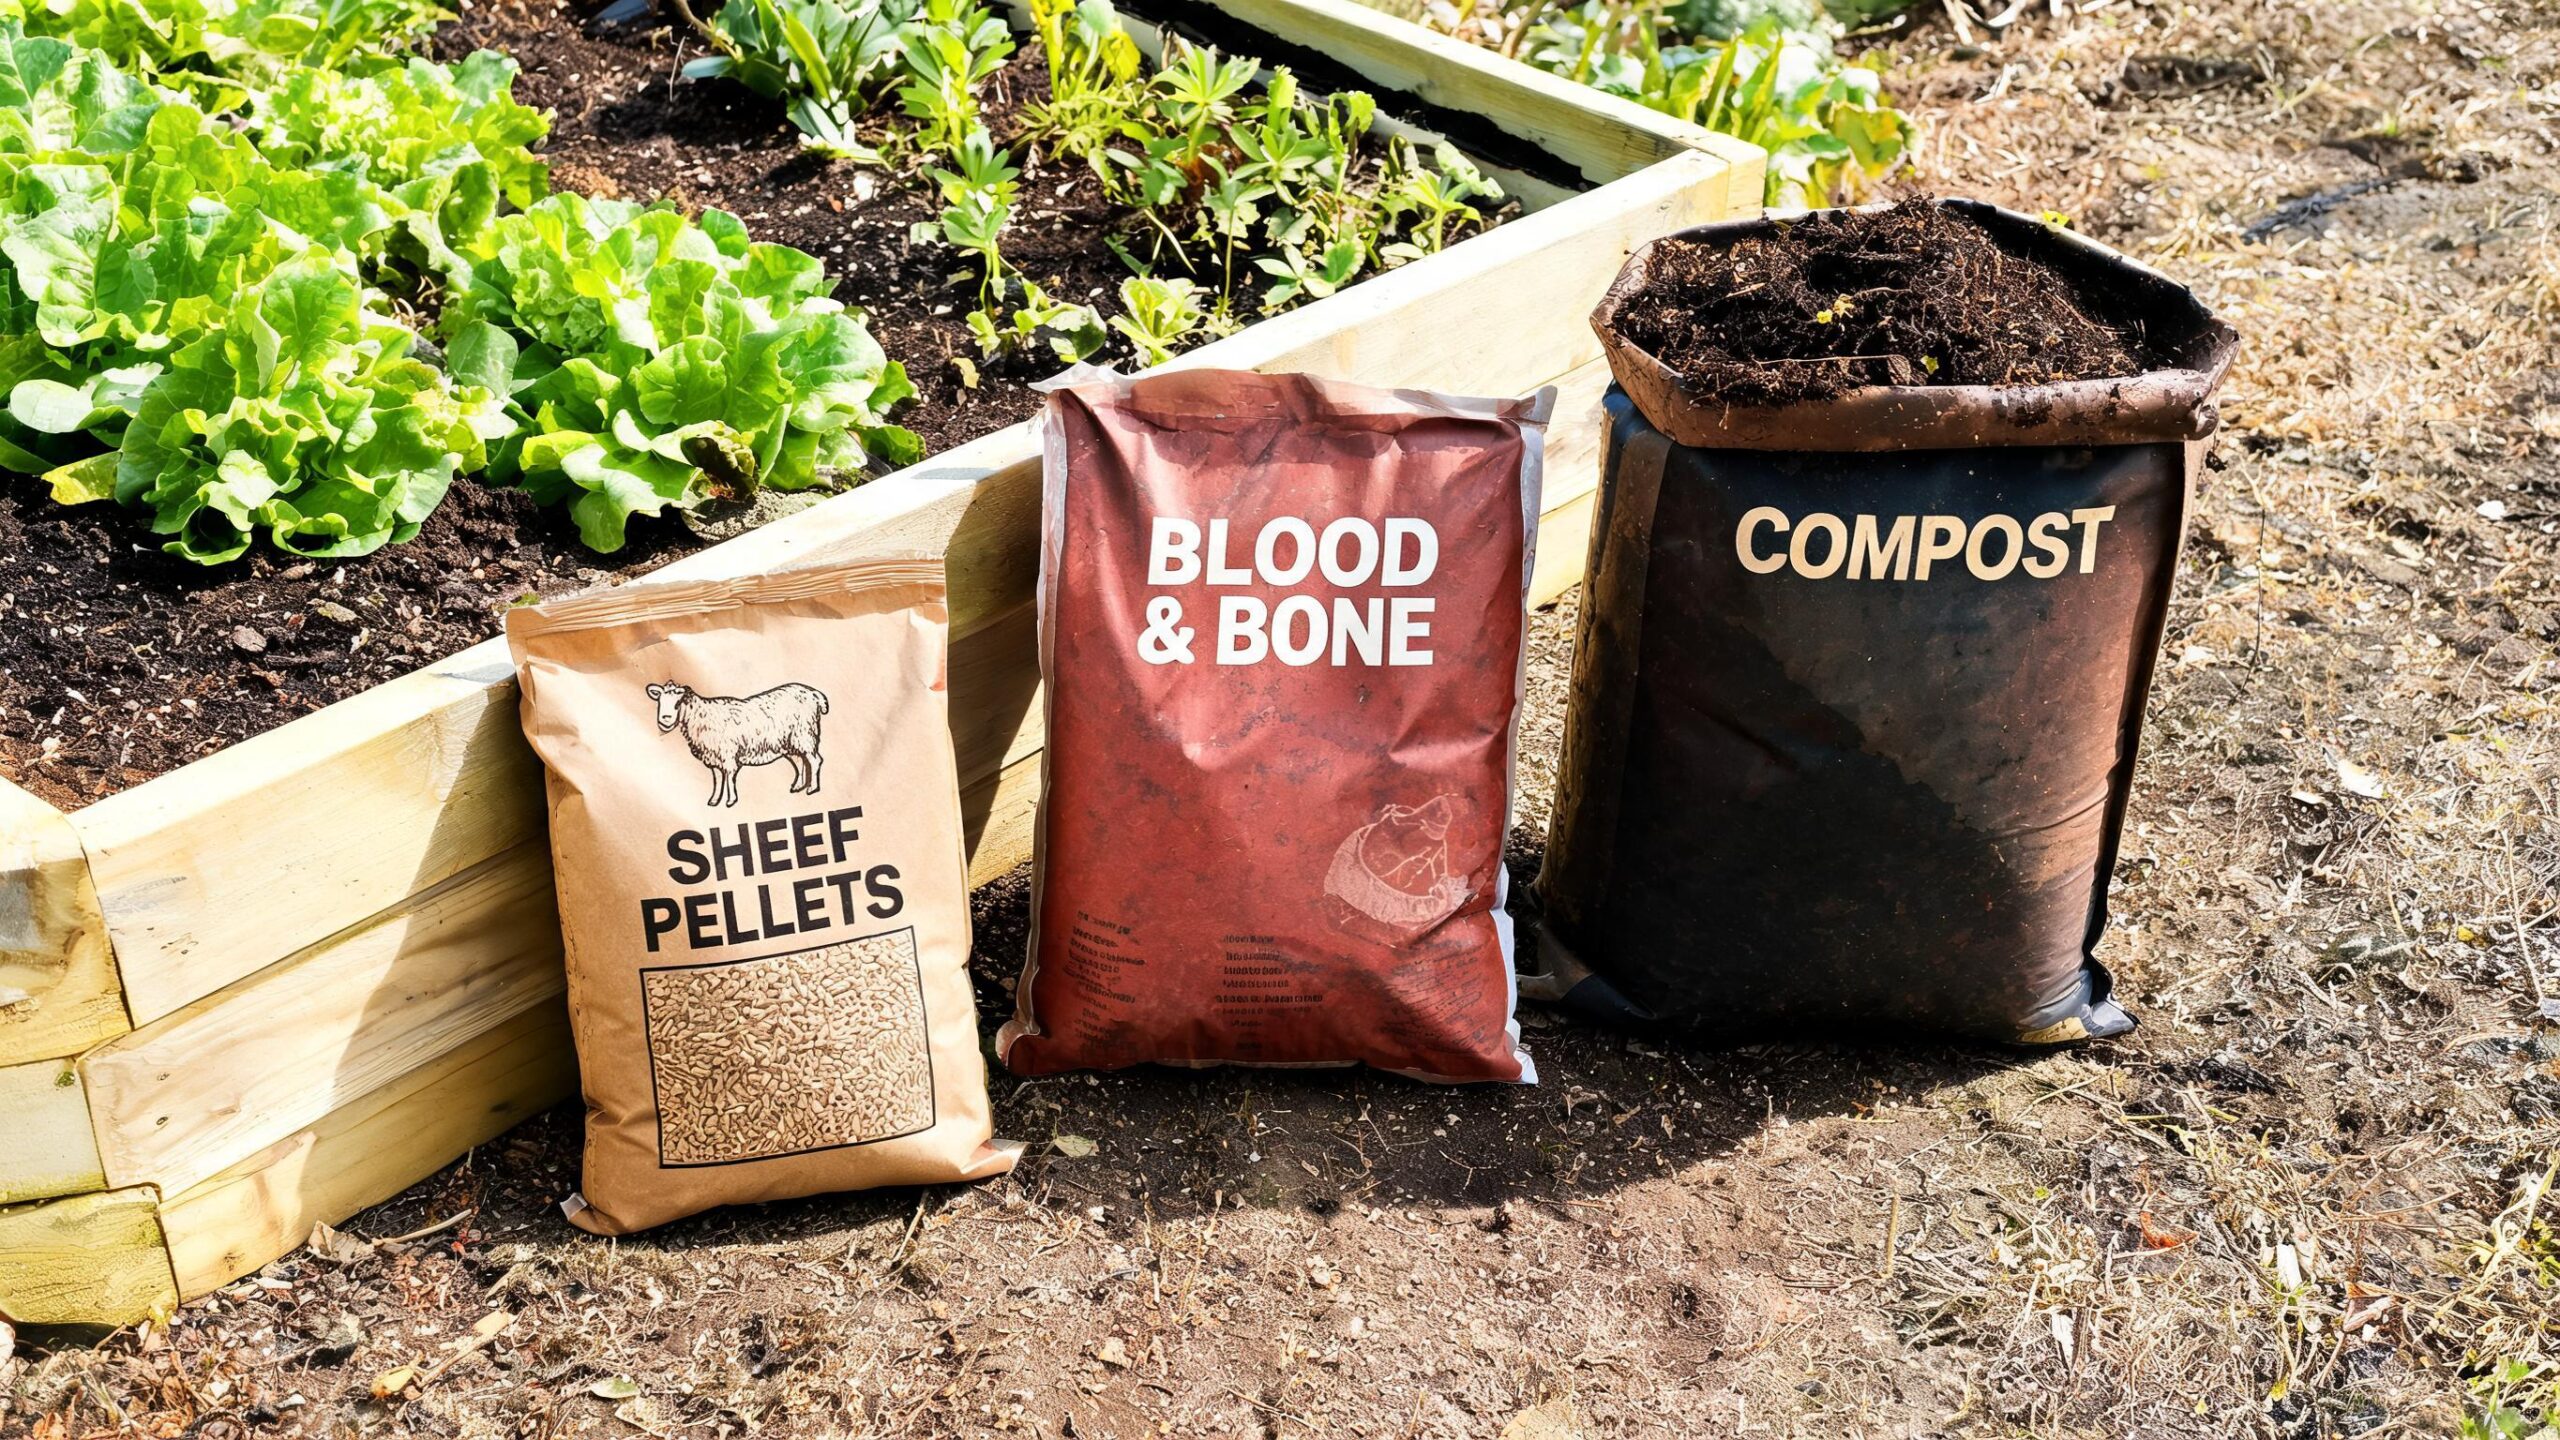
Dig in 5–7 cm of aged compost, sheep pellets, or blood and bone.
Break up heavy clay with gypsum; improve sandy soil with organic matter.
Mulch beds and rest them for 2–3 weeks before transplanting seedlings.
Why Spring Soil Preparation Matters for New Zealand Gardens
New Zealand’s spring (September to November) brings warming soil, longer daylight, and the start of the main growing season for tomatoes, courgettes, beans, and summer flowers. Soil that has spent winter compacted by rain, stripped of nutrients by previous crops, or left acidic won’t support strong root development. A properly prepared bed drains well, holds moisture without waterlogging, and delivers a steady supply of nitrogen, phosphorus, and potassium exactly when seedlings need it most.
Kiwi gardeners often notice that beds neglected over winter develop a hard, compacted crust, particularly on the heavy clay soils common through Waikato, Manawatū, and parts of Canterbury. Left unaddressed, this compaction restricts root growth and drainage well into summer, so tackling it now in late winter or early spring pays off for the whole season.
Step 1: Clear the Bed and Assess Your Soil Type
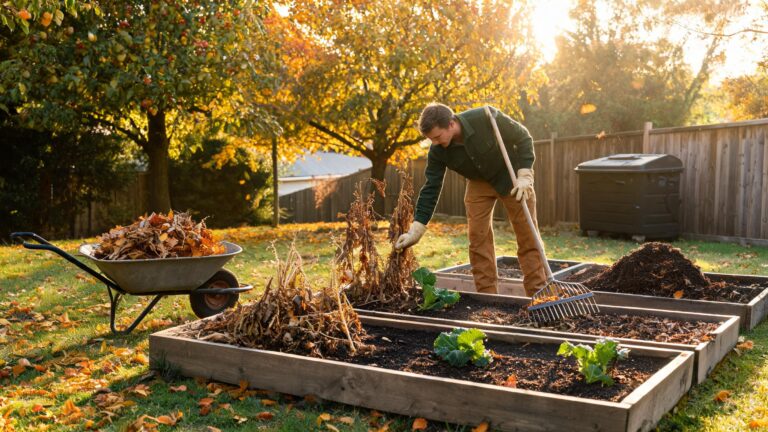
Start by removing spent winter brassicas, dead annuals, and any weeds before they set seed. Cut plants at ground level where possible, leaving roots to break down and feed soil biology, as recommended in Bunnings New Zealand’s spring vegetable garden refresh guide. Rake off old mulch and set it aside for reuse once amendments are dug in.
Next, identify what you’re working with. New Zealand gardens generally fall into three broad soil types:
Soil Type
Common NZ Regions
Key Characteristics
Spring Fix
Heavy clay
Waikato, parts of Canterbury, Hawke’s Bay
Compacts easily, drains slowly, cracks when dry
Gypsum, compost, coarse sand, deep forking
Sandy loam
Coastal Northland, Bay of Plenty, Nelson
Drains fast, low in organic matter and nutrients
Compost, sheep pellets, mulch to retain moisture
Volcanic loam
Auckland, Taranaki, Rotorua
Naturally fertile, friable, good drainage
Light compost top-up, pH check, mulch
Peat soil
Hauraki Plains, parts of Waikato lowlands
Dark, acidic, can be waterlogged in winter
Lime to raise pH, improve drainage with grit
How Do I Know If My Soil Is Healthy?
Dig a 30 x 30 x 30 cm test cube and count earthworms — a thriving bed should show at least eight to ten. Rich, healthy soil is dark, crumbly, and friable, while poor soil will be pale, hard-packed, or sandy and loose, as outlined by McGregor’s garden preparation advice. If worm numbers are low, that’s your cue to add more organic matter before planting.
Step 2: Test and Correct Soil pH
Most unimproved New Zealand garden soils trend acidic, particularly in high-rainfall regions like Taranaki, the West Coast, and parts of the Waikato. Vegetables generally prefer a pH between 6.0 and 7.0, so testing before you dig in fertiliser prevents wasted effort and nutrient lock-up.
Use an inexpensive soil pH test kit or meter, available from Mitre 10, Bunnings, or Palmers.
If pH is below 6.0, apply garden lime at the rate on the packet (typically 100–150 g per square metre) and work it into the top 10 cm.
If pH is too high (alkaline, rare in NZ but possible near limestone country like parts of Waitomo or North Otago), apply agricultural sulphur or elemental sulphur to lower it gradually.
Retest four to six weeks after applying lime or sulphur, since pH shifts take time to stabilise.
Lime and fertiliser should not be applied together in the same week, as lime can react with nitrogen-based fertilisers and reduce their effectiveness. Space these applications at least two to three weeks apart.
Step 3: Feed the Soil with Local Organic Matter
This is where New Zealand’s spring planting guide really comes down to what’s in your shed or at the local garden centre. Rather than relying on synthetic fertilisers alone, Kiwi gardeners typically build soil fertility using a combination of:
Sheep pellets – a slow-release, low-odour source of nitrogen, ideal for vegetable beds and container mixes.
Blood and bone – supplies phosphorus for root development, useful when planting seedlings or bulbs.
Seaweed or kelp tea – a liquid tonic that boosts soil microbial life and trace minerals, especially valuable for coastal Northland and Bay of Plenty gardens with sandy soils.
Well-rotted animal manure – chicken, horse, or cow manure dug in now has time to break down before summer planting.
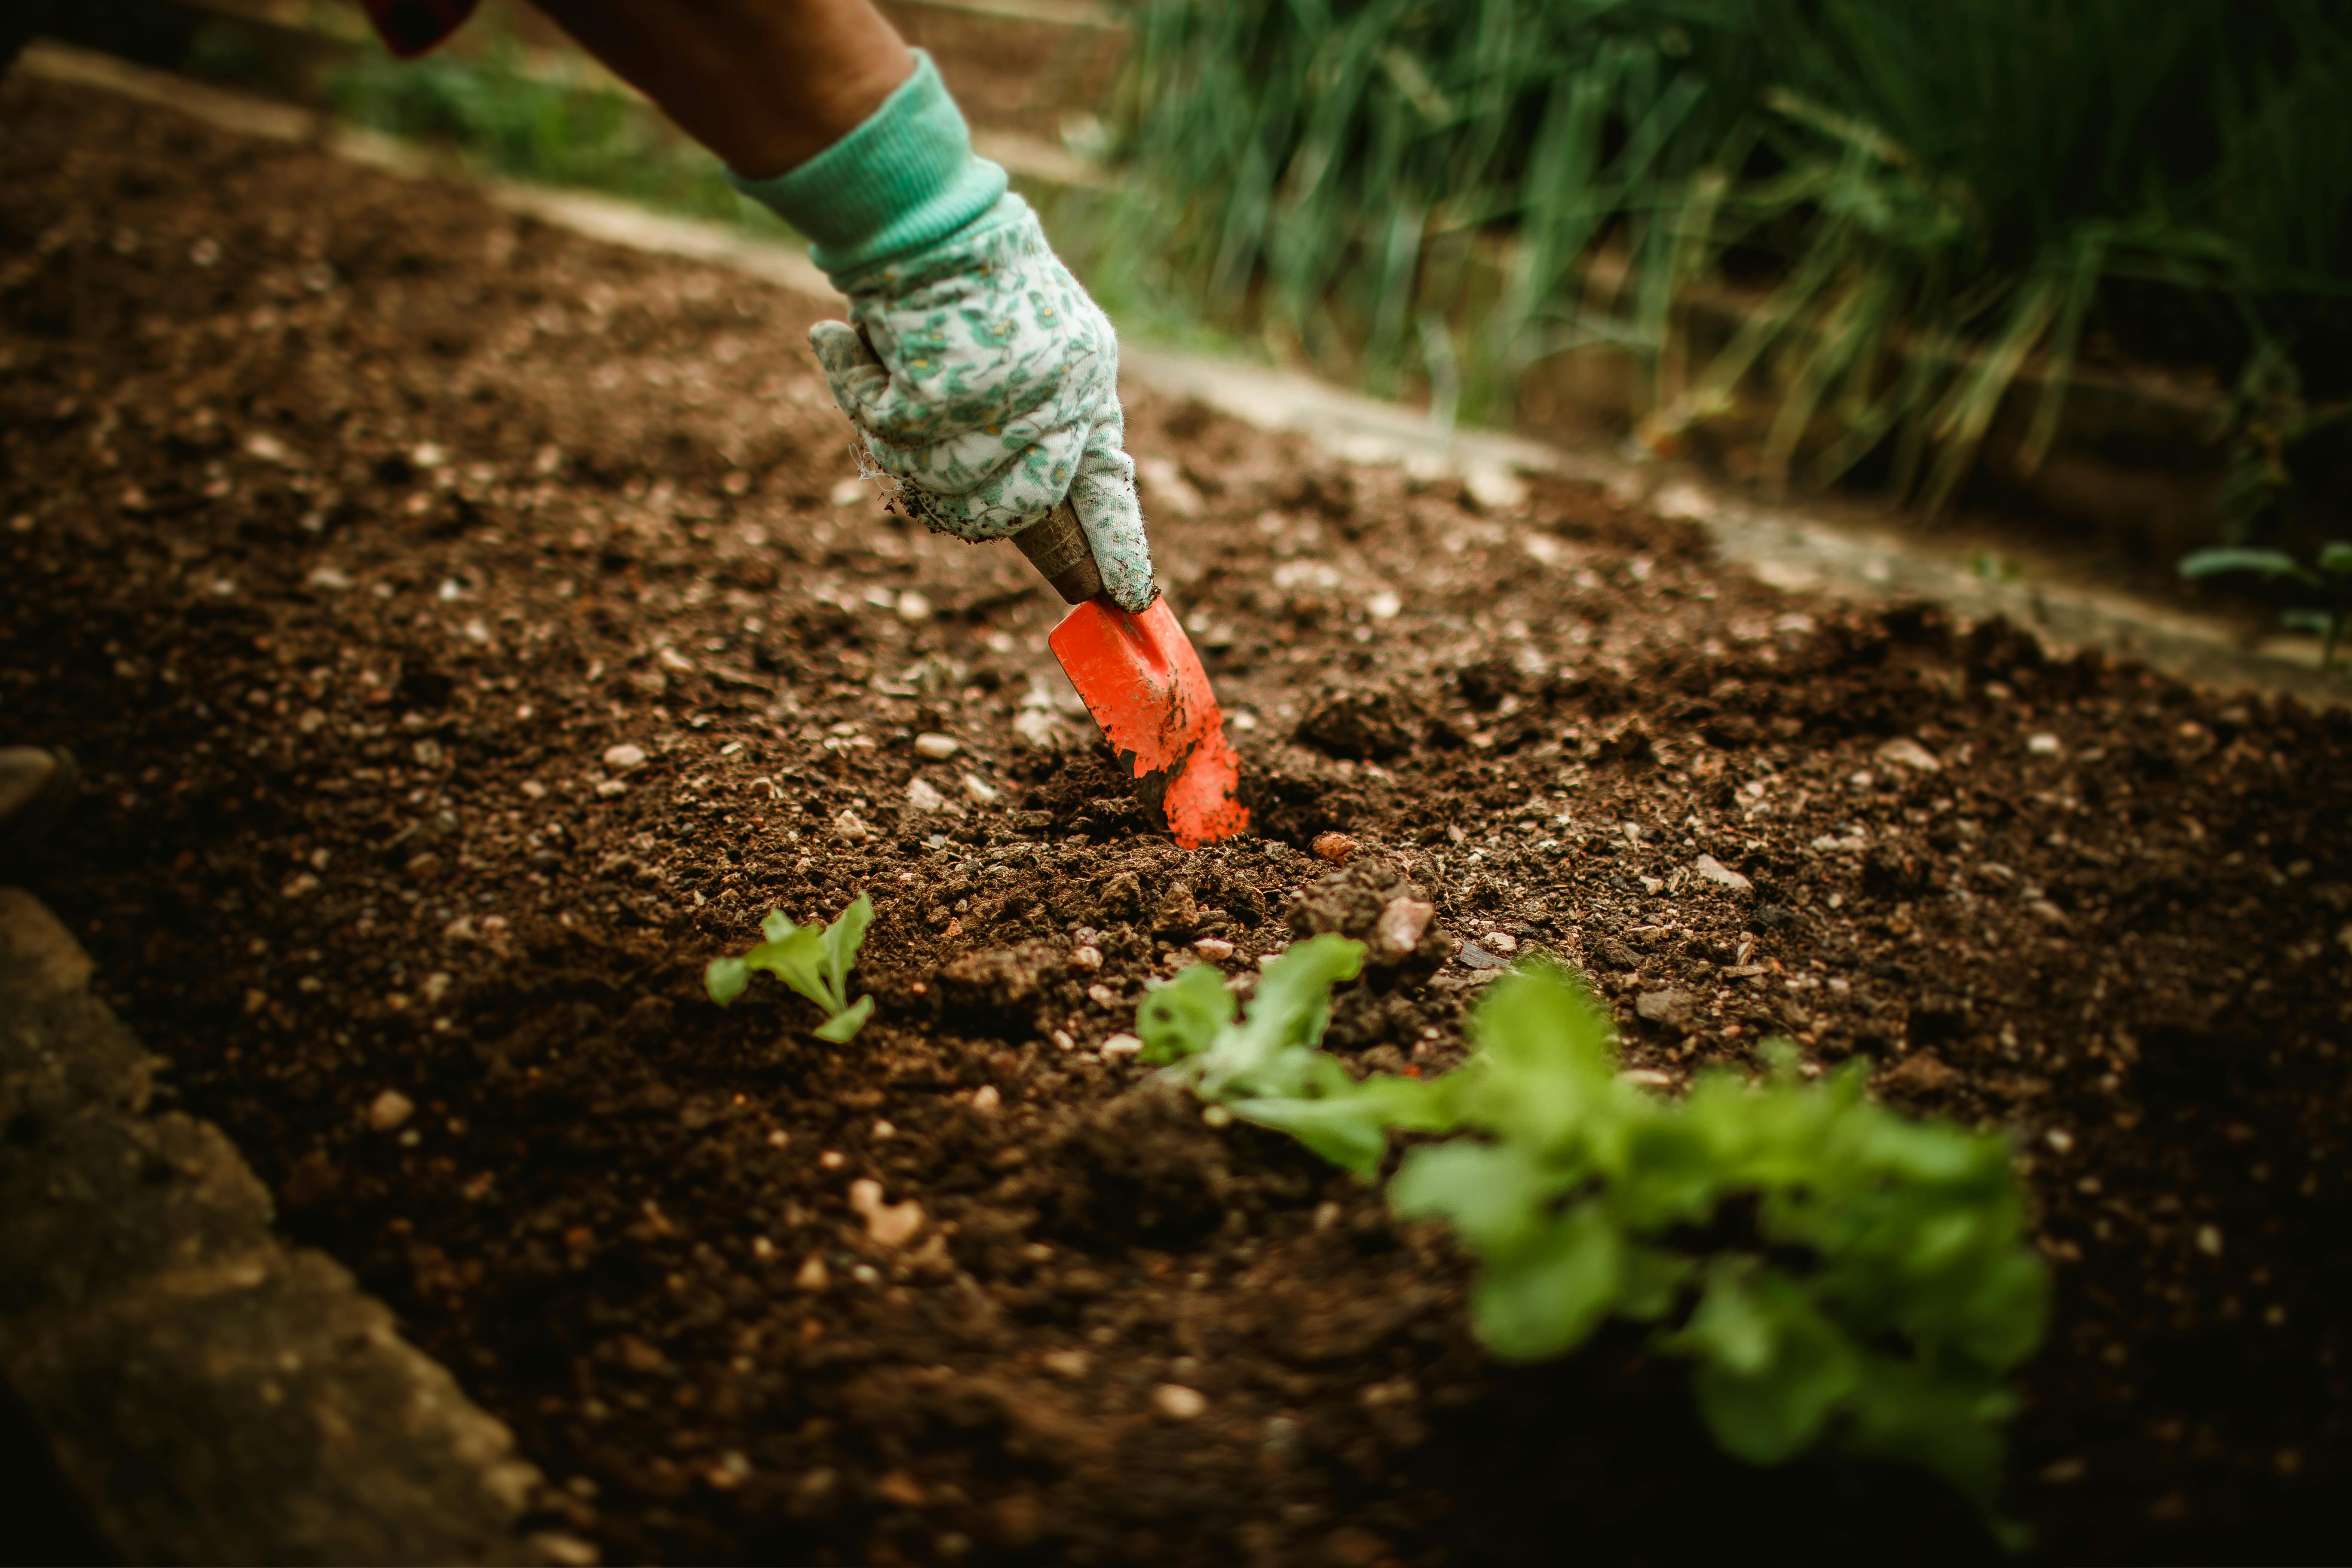
As a rough guide, spread compost or well-rotted manure at 5–7 cm across the bed surface and fork it into the top 20–30 cm. Avoid fresh, unrotted manure at this stage, as it can burn tender roots and tie up nitrogen as it decomposes.
Fixing Clay and Sandy Soils Specifically
Heavy clay is one of the most common frustrations for gardeners in Waikato, Hamilton, and parts of Canterbury. Gypsum is the go-to amendment here, as it improves drainage and adds calcium and sulphur without changing soil pH, unlike lime. Work it in alongside compost for the best structural improvement, per advice from the NZ Herald’s guide to building great garden soil.
Sandy soils, common in coastal Northland and parts of Nelson, need the opposite treatment: regular organic matter additions to improve water and nutrient retention. Compost, sheep pellets, and a good mulch layer will transform light, free-draining sand into a productive spring bed within one or two seasons.
Step 4: Loosen Compaction and Improve Structure
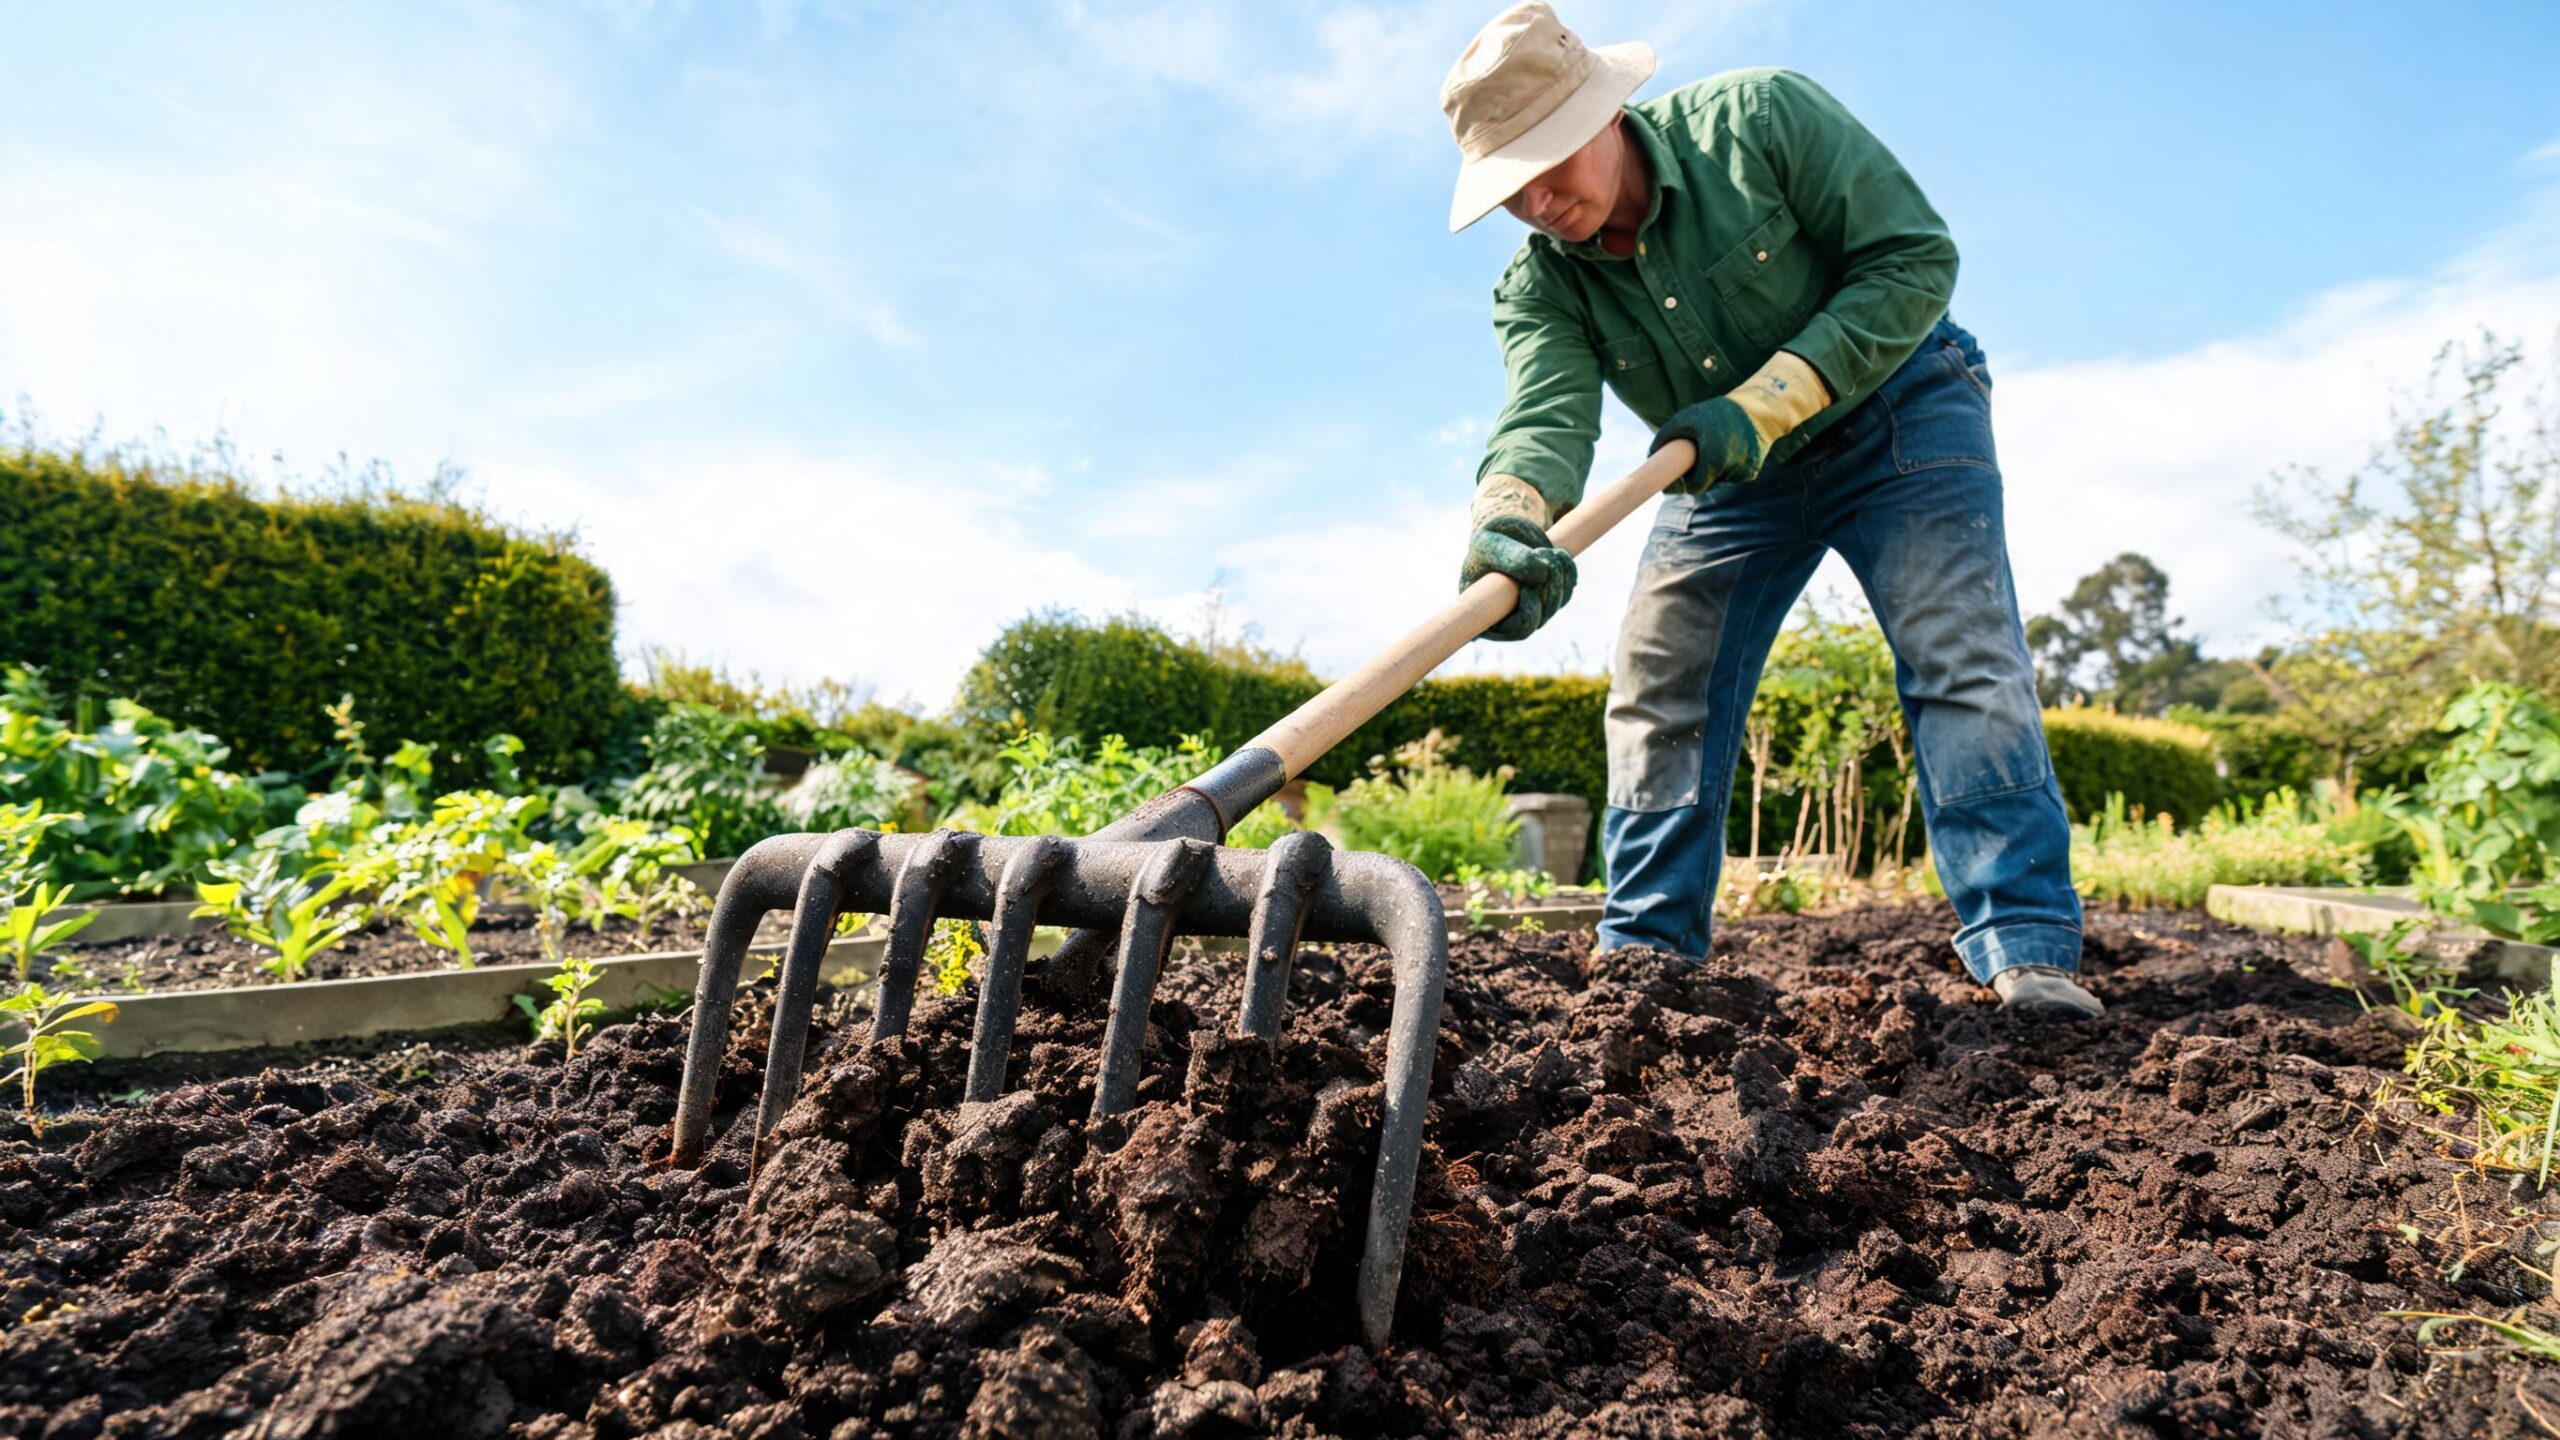
Winter rain compacts soil, squeezing out the air pockets roots need. Use a garden fork to loosen soil to spade depth, turning gently rather than inverting whole clods, which can damage soil structure and disrupt beneficial fungal networks. For larger plots or new garden beds, a broadfork or rotary hoe rental from a local hire shop can save considerable time and effort.
If you’ve grown a winter cover crop such as mustard, lupin, or oats, now is the time to dig it in. Cut it down, water well, and turn it into the topsoil. Allow at least three weeks, ideally six, for the green matter to break down before sowing or transplanting, since fresh green material competes with young plants for nitrogen as it decomposes.
Step 5: Mulch and Rest the Bed Before Planting
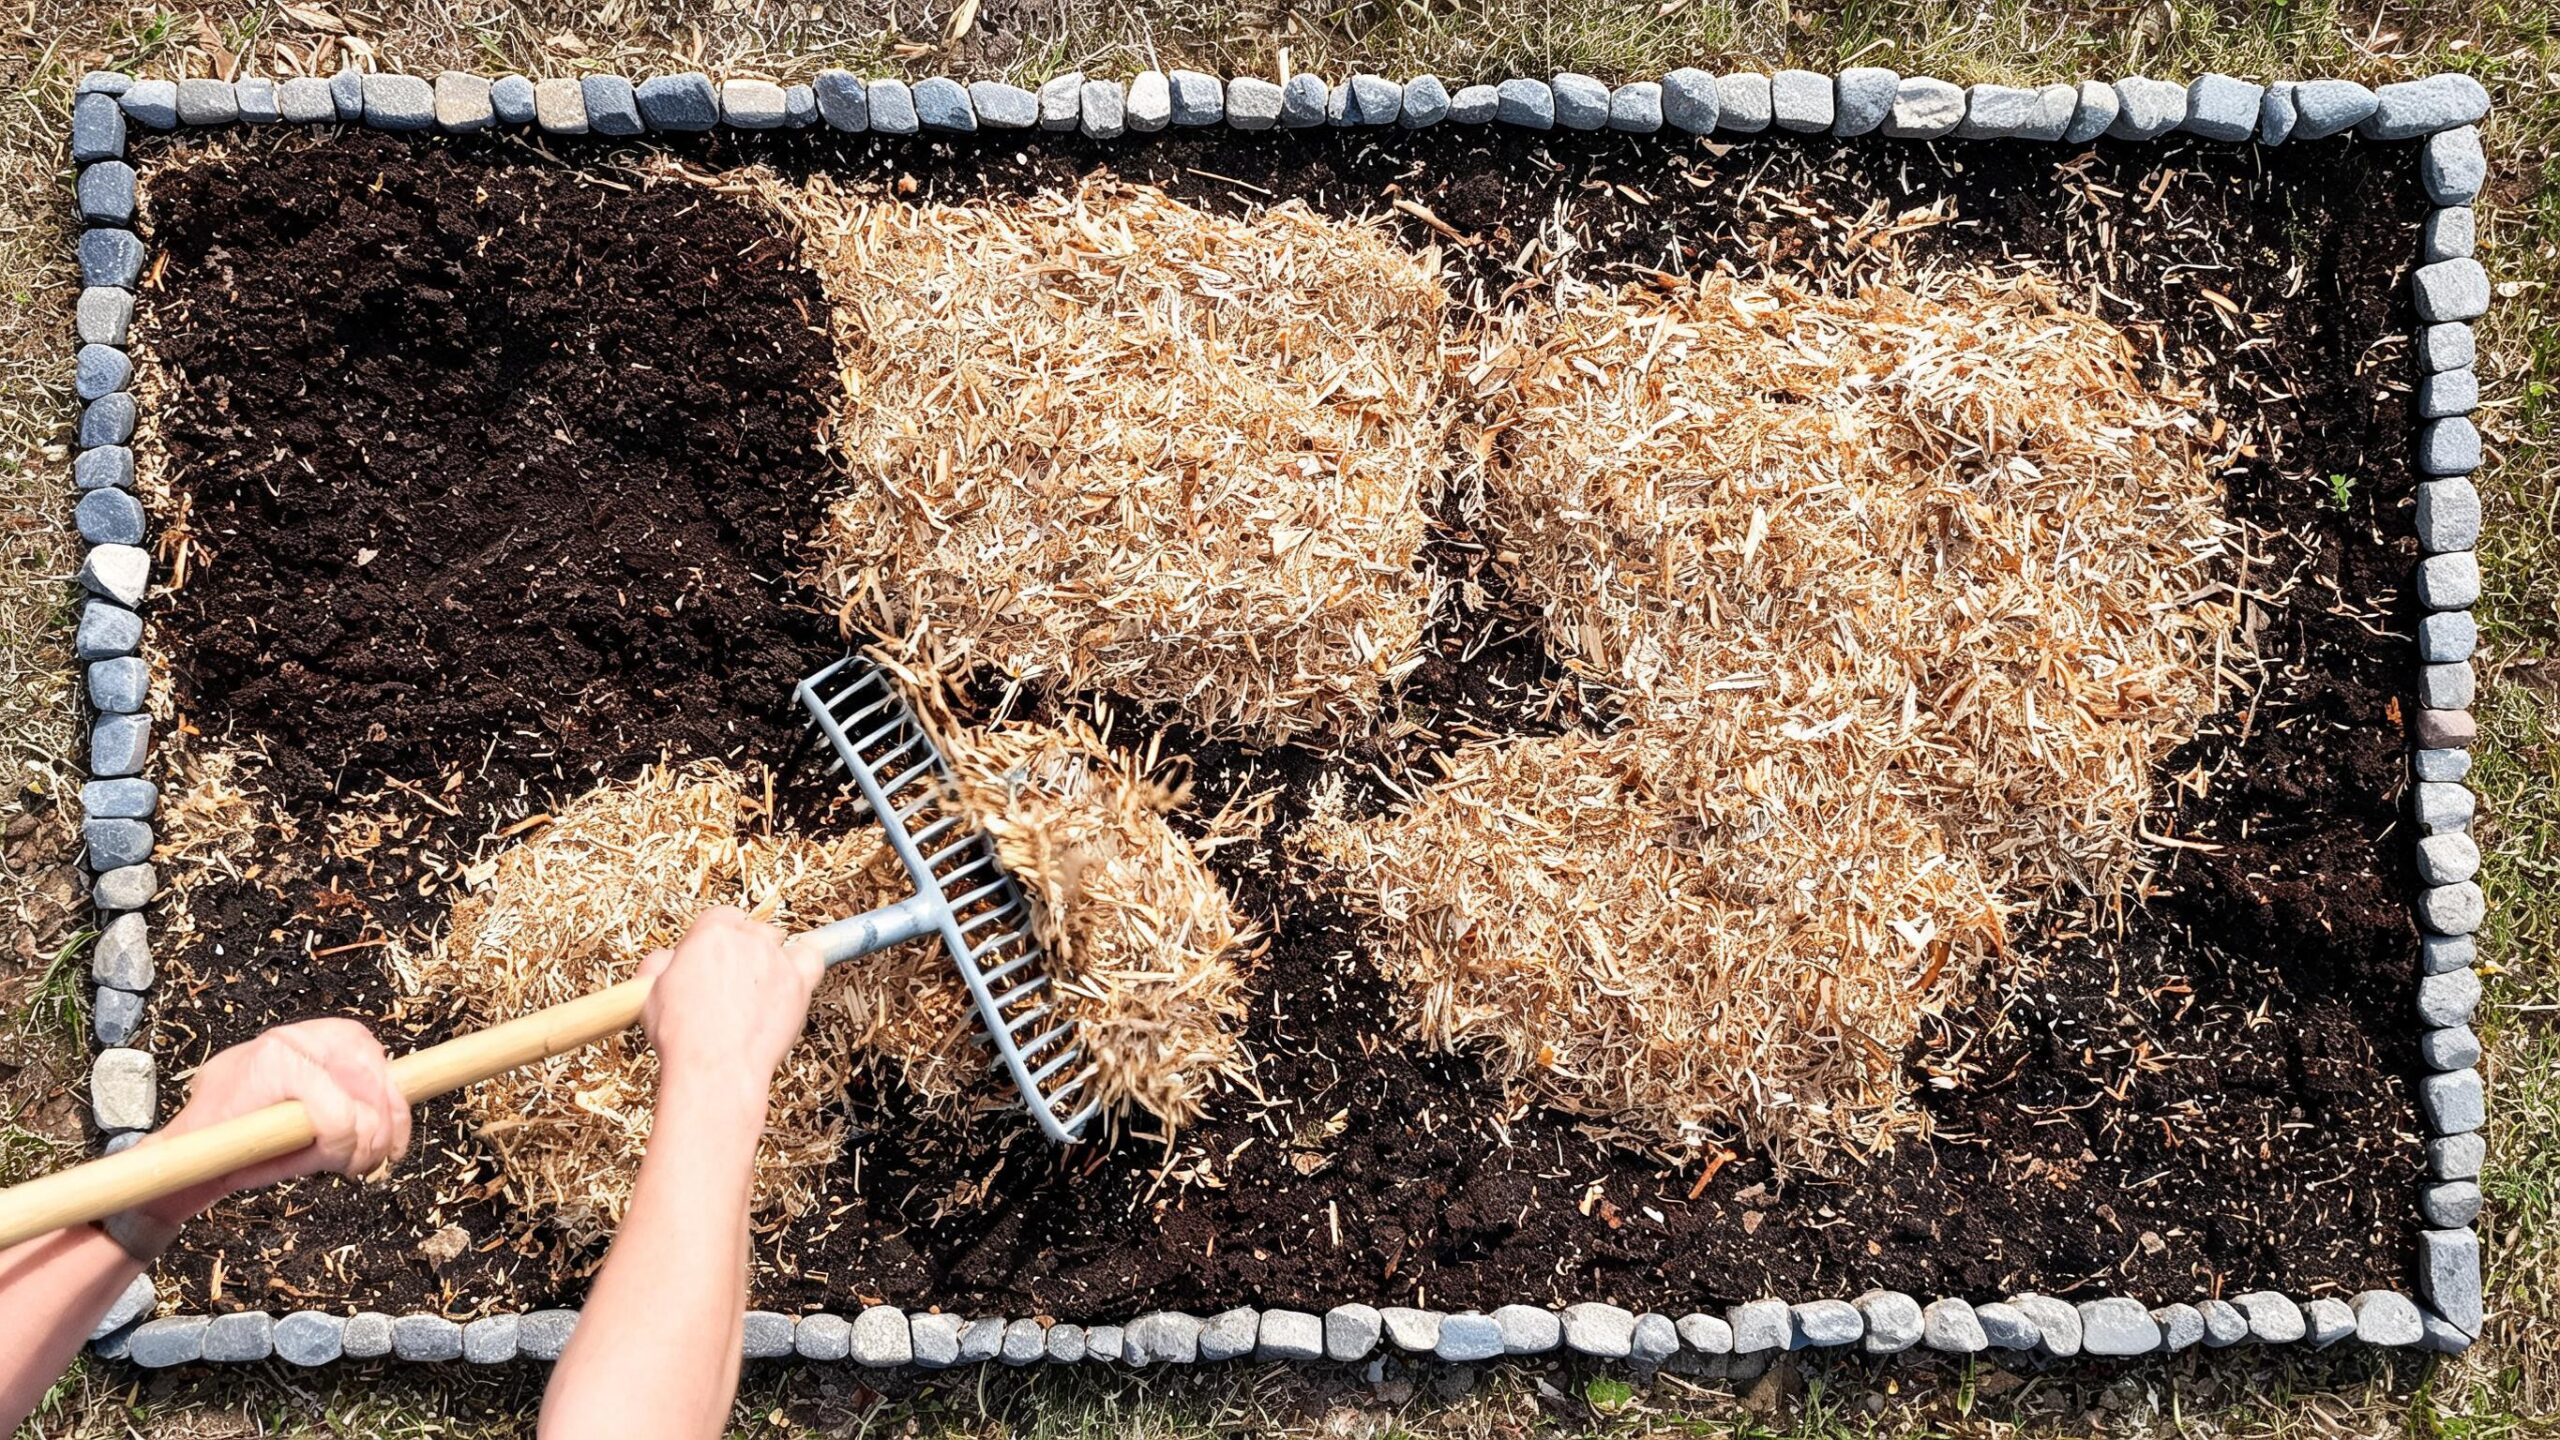
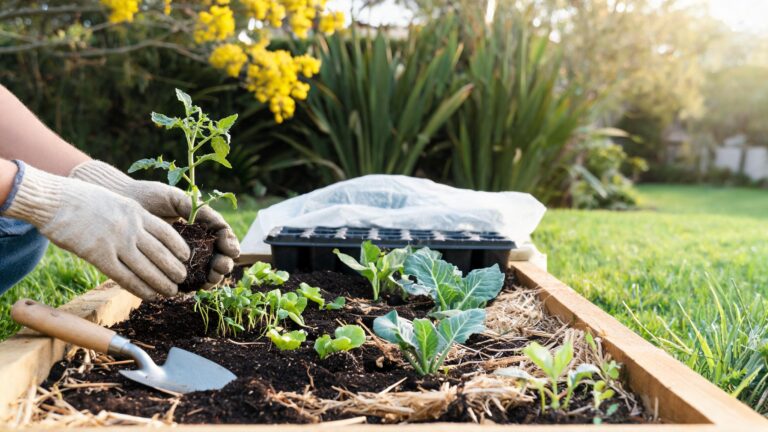
Once amendments are dug in, spread a 5–8 cm layer of mulch such as pea straw, sugarcane mulch, or bark over the surface, keeping it clear of plant stems. Mulch suppresses weeds, conserves moisture as temperatures rise into November, and continues feeding soil life as it breaks down.
Leave the bed to settle for one to three weeks before planting. This resting period allows worms and soil microbes to integrate the organic matter, softening the transition for seedling roots. If you’re following a full spring planting guide for your vegetable patch, this rest period lines up neatly with the time it takes to raise or harden off seedlings.
NZ Regional Timing and Microclimate Notes
Spring soil preparation timing shifts noticeably across New Zealand’s regions:
Northland and Auckland (subtropical): Soil warms early; amendments can go in from late August, with planting starting in early September.
Waikato and Bay of Plenty (temperate): Soil prep through September, with main planting from late September into October once frost risk passes.
Wellington and lower North Island: Wait for wind-sheltered conditions; prepare beds through September, plant from October.
Canterbury and Central Otago (frost-prone, alpine): Soil can stay cold into October; prioritise pH correction and compost now, but delay tender crop planting until Labour Weekend or later once frosts ease.
In frost-prone inland areas, warming the soil with black weed mat or cloches for two to three weeks before sowing can bring soil temperature up faster, giving seeds a better start once you do plant.
Common Pests and Issues to Watch For in Spring Beds
As soil warms, several NZ-specific pests become active and can affect newly prepared beds:
Bronze beetle – emerging adults chew notches in new leaves; check seedlings at dusk when they’re most active.
Slugs and snails – thrive in moist, freshly mulched spring beds; use iron-based baits rather than metaldehyde where pets or birds are present.
Guava moth (northern regions) – less relevant to soil prep but worth monitoring if fruit trees are nearby.
Damping off fungi – can affect seedlings planted into overly wet, poorly drained soil, reinforcing the importance of drainage improvements from Step 3.
Key Takeaways
Preparing garden soil for spring starts with clearing debris, testing pH, and identifying your soil type.
Use lime for acidic soil, gypsum for heavy clay, and compost or sheep pellets for both structure and fertility.
Dig in cover crops or green matter at least three weeks before planting to avoid nitrogen tie-up.
Mulch after amending, and let beds rest one to three weeks before transplanting.
Adjust timing regionally — Northland gardeners can start weeks ahead of Central Otago growers.
Frequently Asked Questions
When should I start preparing garden soil for spring in NZ?
Most Kiwi gardeners begin in late winter, around August, testing pH and digging in compost so beds are ready by early to mid-September. Colder, frost-prone regions like Central Otago and inland Canterbury can start the same soil work but should delay actual planting until frost risk passes, usually late October.
Do I need to add lime every spring?
Not necessarily every year. Test your soil’s pH first, since repeated liming without testing can push soil too alkaline over time. Most vegetable gardens only need lime every one to two years, depending on rainfall and previous applications.
What’s the best fertiliser for spring vegetable beds in New Zealand?
Sheep pellets and blood and bone are popular, reliable choices for Kiwi vegetable gardens, offering slow-release nitrogen and phosphorus. Combine these with aged compost for the best overall soil structure and long-term fertility.
How do I fix heavy clay soil before spring planting?
Work in gypsum along with generous amounts of compost, digging to a depth of at least 20–30 cm. Gypsum improves drainage without altering pH, while compost adds organic matter that keeps clay from recompacting after rain.
Can I plant straight after adding compost and manure?
It’s best to wait one to three weeks after digging in compost or manure, allowing soil organisms to begin breaking it down. Fresh, unrotted manure especially should be left longer, as it can scorch tender young roots if planted into too soon.
Is mulch necessary if I’ve already added compost?
Yes — mulch and compost serve different purposes. Compost feeds soil fertility, while mulch conserves moisture, suppresses weeds, and moderates soil temperature as spring days warm up, especially important in drier regions like Hawke’s Bay and Central Otago.
What soil type is most common in Waikato gardens?
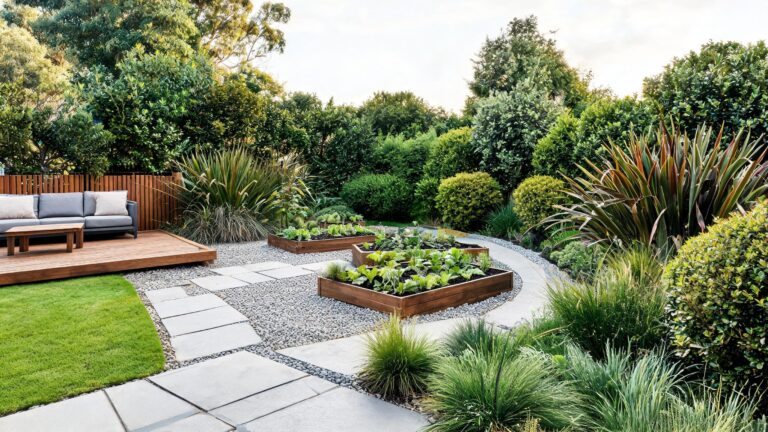
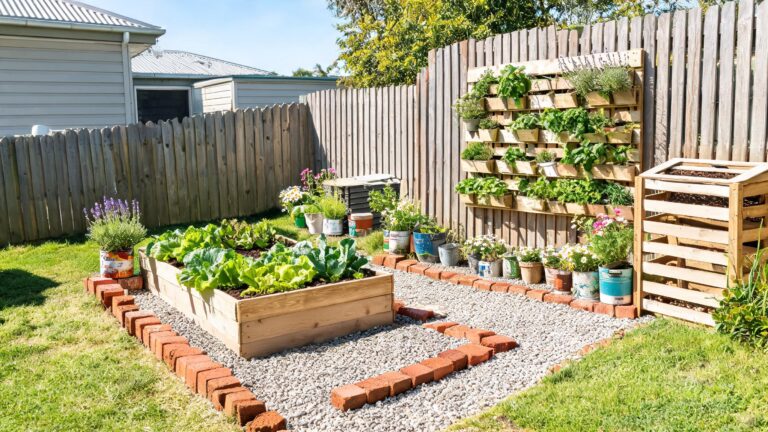
Waikato gardens frequently sit on heavy clay or peat-influenced soils, particularly in low-lying areas near the Hauraki Plains. These benefit strongly from gypsum, compost, and raised beds to improve drainage ahead of spring planting.
Final Thoughts on Preparing Garden Soil for Spring
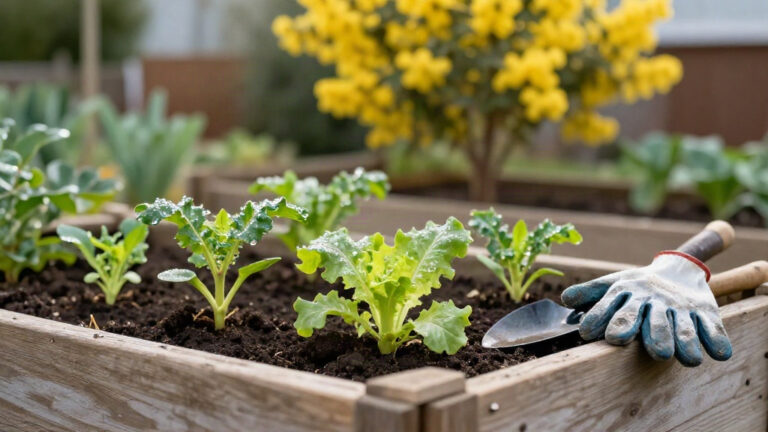
Good soil is the foundation of every successful New Zealand garden, and the effort you put in now, testing pH, feeding with compost and sheep pellets, breaking up clay, and mulching, pays dividends right through summer harvests. Whether you’re gardening a small raised bed in Hamilton or a larger block in the Waikato countryside, treat this spring planting guide as your checklist for turning tired winter soil into a living, fertile foundation. Get your hands into the whenua, do the groundwork properly, and your spring garden will reward you with strong, healthy growth all season long.
We use cookies to improve your experience, analyze traffic, and display personalized ads.
By clicking "Accept", you consent to the use of cookies in accordance with our Privacy Policy.