Camellia Winter Care NZ: The Complete Cool-Season Guide
Winter is prime time for camellias across New Zealand, with japonica varieties bursting into bloom from June through August while sasanquas wind down their autumn show. Getting camellia winter care NZ right protects those blooms from frost, petal blight, and cold-wind damage while setting the plant up for a strong spring flush. Whether you’re gardening in frosty Canterbury or mild coastal Auckland, this guide covers everything from mulching and watering to pest control and post-flowering pruning.
Camellias in New Zealand need minimal winter intervention, but a few key tasks make a big difference to flower quality and plant health. Focus on protecting blooms from frost and wind, maintaining a good mulch layer, watering sparingly but consistently, and staying alert for camellia petal blight.
>Mulch generously (5-8 cm) around the root zone, but keep it clear of the trunk to retain soil warmth and moisture
>Water only occasionally in winter, since camellias are semi-dormant and prone to root rot in soggy, cold soil
>Hold off fertilising until late winter (August) when buds swell, ahead of the main spring feed
>Position or shelter plants away from early morning sun and cold, drying winds
>Remove and destroy any blighted or botrytis-affected flowers immediately to stop fungal spread
Why Winter Matters for Camellia Care NZ
New Zealand’s mild-to-cool winters suit camellias better than almost any other flowering shrub, which is exactly why they’re such a staple in kiwi gardens from Northland to Otago. Japonica camellias peak in flower during June, July, and August, meaning winter isn’t a dormant afterthought but the season your camellia performs. Sasanqua varieties, by contrast, finish flowering by early winter and use the cooler months to put on vegetative growth, so their winter care needs differ slightly.
Understanding this distinction matters because feeding, pruning, and watering routines depend on whether your camellia is actively blooming or has already finished for the season. Get the timing wrong and you risk pushing soft new growth into a frost, or missing the window for the post-flower prune that keeps a camellia compact and floriferous.
Watering Camellias Correctly in Winter
Camellias are considerably more drought tolerant once established, and in winter their water needs drop right off because growth has slowed and rainfall typically increases across most of the country. Overwatering in cold, wet soil is a bigger risk in winter than underwatering, since waterlogged roots combined with low temperatures encourage root rot and can trigger bud and flower drop.
>Check soil moisture before watering; only irrigate if the top 5 cm feels dry
>Ensure containers and garden beds have excellent drainage, since camellias hate “wet feet”
>Potted camellias dry out faster than in-ground plants, even in winter, so check these more frequently
>Avoid overhead watering on frosty mornings, as water droplets on petals combined with early sun can scorch blooms
Mulching: Your Best Winter Protection Tool
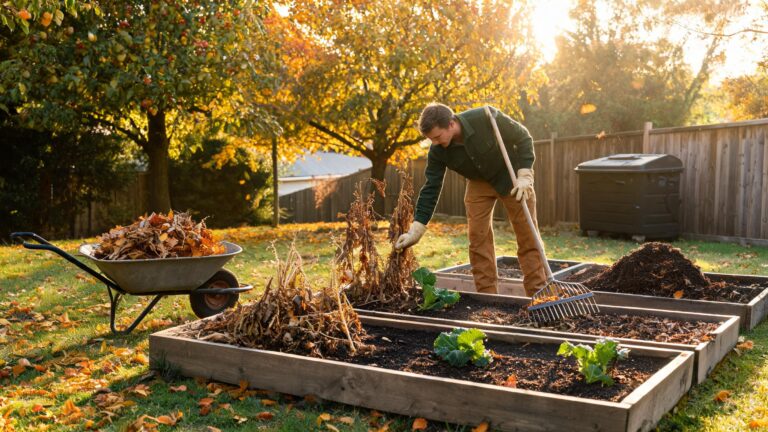
Mulch is a layer of organic material spread over soil to insulate roots, retain moisture, and suppress weeds. In winter, a fresh 5-8 cm layer of bark, pine straw, or **compost** around the root zone (but kept well clear of the trunk) helps regulate soil temperature during cold snaps and, importantly, forms a physical barrier that interferes with camellia petal blight spores travelling from old fallen flowers back up into new buds.
Renew mulch each year rather than piling more on top of old material, since built-up organic matter against the trunk can encourage collar rot. Refresh it in early winter before the main flowering flush begins, and again after any major clean-up of fallen or diseased blooms.
How Deep Should Camellia Mulch Be?
Aim for 5-8 cm of mulch spread out to at least the plant’s drip line, but never bank it up against the stem. Piling mulch more than 4 cm deep directly around the trunk can trap excess moisture and harm the root collar, so keep a small gap clear around the base.
Feeding Camellias Through Winter
Most fertilising happens outside the depths of winter, but late winter timing is critical for setting up strong spring flowers. Hold off on heavy feeding through the coldest months, then apply an acid-loving plant fertiliser once buds begin to swell and colour up, ready for the main growth spurt after flowering finishes.
Timing
Fertiliser Type
Purpose
Early-mid winter (June-July)
None, or very light feed only if buds are still forming
Avoid pushing soft growth into frost
Late winter (August)
Potassium-rich formula (e.g. camellia and azalea blend)
Encourage strong, colourful flowering
End of flowering (spring)
Complete acid fertiliser with soil conditioner
Fuel the major post-flower growth spurt
Never use lime around camellias, since they need acidic to neutral soil (pH 5.0-6.5) and lime pushes soil pH the wrong way. A **controlled-release acid fertiliser** designed for camellias, azaleas, and rhododendrons is the safest year-round choice for New Zealand soils, many of which trend alkaline near coastal limestone areas.
Protecting Camellias From Frost and Cold Wind
Most camellia varieties grown in New Zealand, particularly japonicas, handle cold remarkably well once acclimatised and dormant, but young plants, potted specimens, and open flowers are more vulnerable. The biggest risk isn’t the frost itself but rapid thawing in direct morning sun, which is why an early morning sun position is often discouraged for camellias in cooler regions.
>Avoid planting or positioning camellias where they catch direct early morning sun, since dew or frost on petals can scorch flowers as the sun hits it
>Use frost cloth or horticultural fleece draped loosely over young or exposed plants during forecast frosts, especially for early-blooming varieties
>Move potted camellias to a sheltered spot near a wall, fence, or under eaves during hard frosts
>Keep mulch topped up, since a good insulating layer over the root zone protects roots even if the surface freezes briefly
>In very cold inland areas (parts of Otago, Canterbury, Central North Island), consider wrapping small pots in bubble wrap for extra insulation
Gardeners in Auckland and other northern regions rarely need to worry about hard frost damage, but a cold southerly can still brown tender new leaf tips, so a wind-sheltered spot against a fence or hedge line is always worth choosing at planting time.
Camellia Petal Blight: The Winter Threat to Watch
Camellia petal blight is a fungal disease caused by Ciborinia camelliae that has become established throughout New Zealand and specifically targets flowers rather than foliage or the plant’s overall health. It shows up as light brown speckling on petals that rapidly spreads into full browning within a day or two, and can be distinguished from botrytis by peeling back the calyx to check for a telltale white powdery ring inside.
There’s currently no fully effective cure, but consistent hygiene dramatically reduces its spread and impact on next season’s display.
>Pick off and destroy all diseased or fallen blooms promptly, don’t leave them on the ground beneath the plant
>Replace old mulch each spring with a fresh 2-3 cm layer to physically block spores travelling from soil-level debris back up to buds
>Apply a protective fungicide such as organic sulphur spray during dormancy through to when buds show colour
>Spray affected plants at two-weekly intervals with a fungus control product once blight appears
>Avoid overhead watering which spreads spores between flowers
Reticulata camellias, with their large dinner-plate-sized blooms, tend to drop blighted flowers naturally rather than holding onto damaged petals, which actually helps limit further spread. Since petal blight only affects flower count rather than plant vigour, even a bad blight year won’t threaten a mature camellia’s long-term health.
Pruning: Timing It Right in Winter
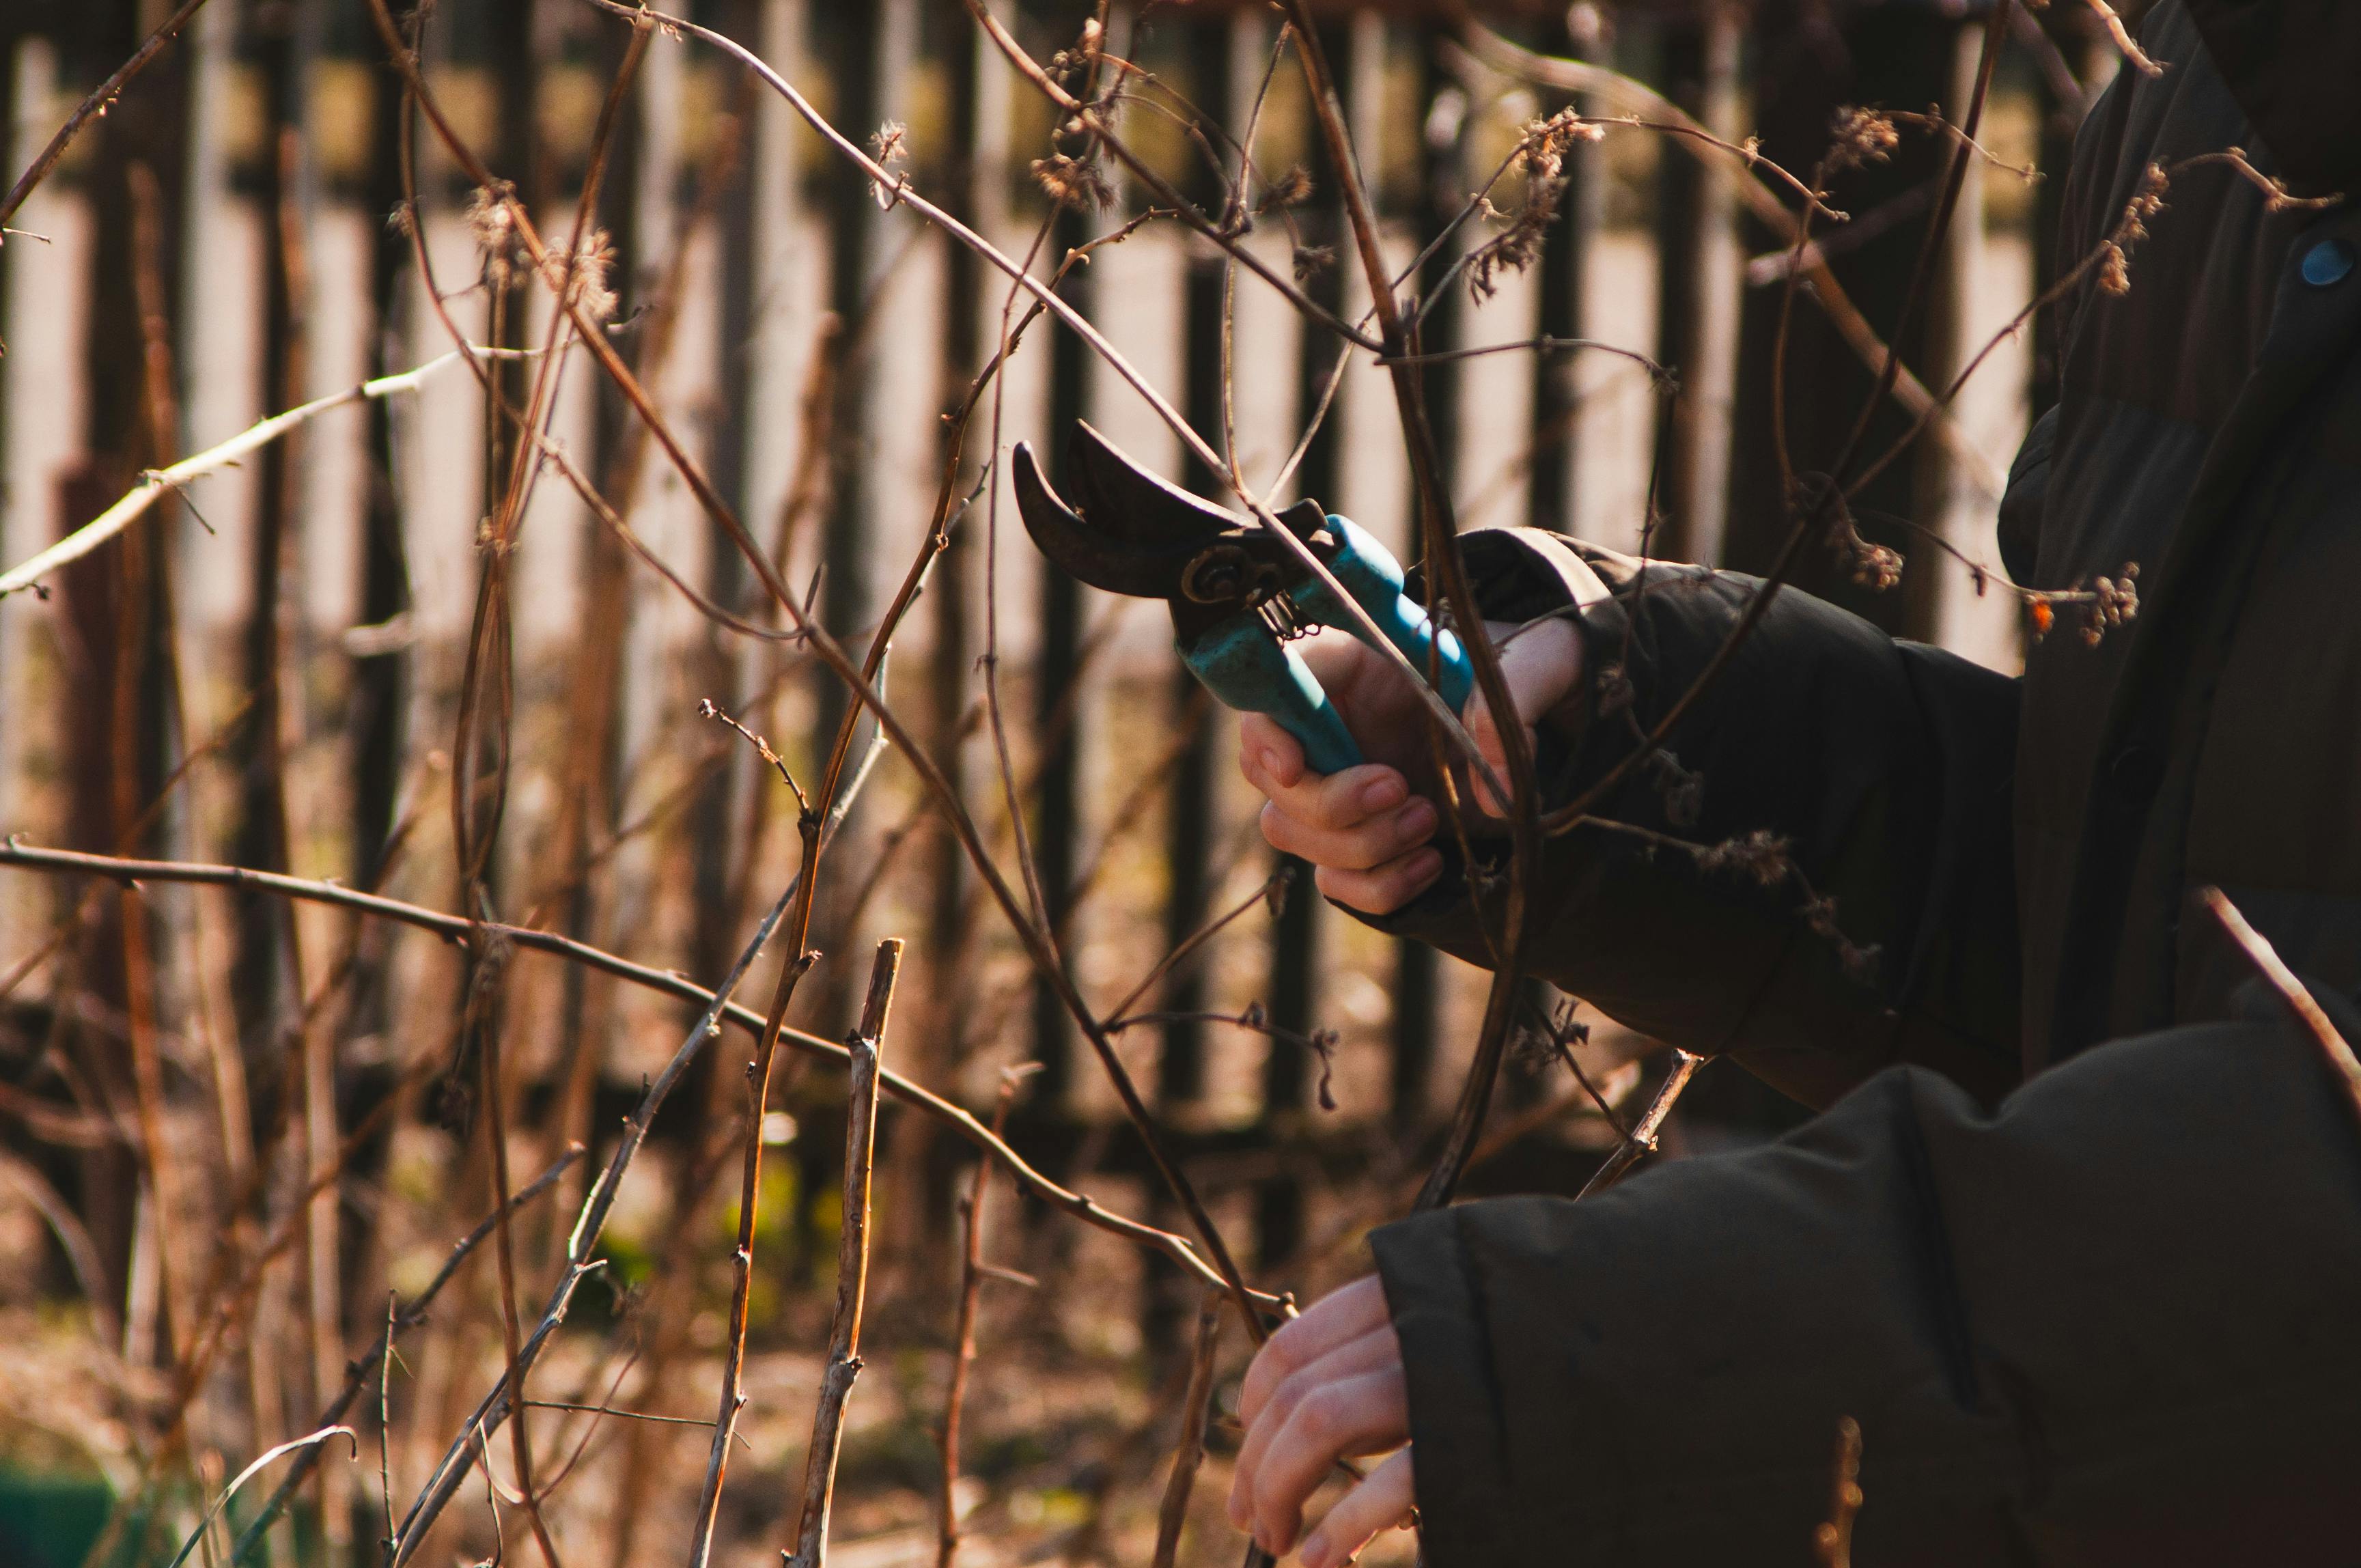
The golden rule for camellia pruning is to trim after flowering finishes, not during winter while buds are still opening. Cutting into a plant mid-bloom sacrifices the current season’s flowers, so winter pruning should be limited to removing dead, diseased, or damaged wood only.
When Should You Prune Camellias in NZ?
Prune immediately after flowering finishes and before new spring growth begins, which for most japonicas falls in early-to-mid spring, while sasanquas can be trimmed at the end of autumn once their bloom cycle wraps up. During winter itself, restrict pruning to sanitation cuts, removing any dead, diseased, or storm-damaged branches, and leave the main shaping prune for that post-flower window.
>Remove branches within 30 cm of the ground to open up airflow and reduce blight-friendly humidity
>Cut out weak, crossing, or internal branches that crowd the centre of the plant
>Always prune to an outward-facing bud to encourage an open, well-shaped habit
>Sasanqua hedges benefit from a light end-of-winter trim to freshen their outline before the new season
>Reticulatas are best left largely unpruned to develop their natural tree form, aside from occasional lower-branch removal
Common Winter Mistakes to Avoid
Even experienced gardeners can trip up on a few recurring camellia winter care mistakes. Gardeners often notice that plants placed in early morning sun suffer more petal scorch than those in afternoon-sun or shaded positions, simply because frozen dew on the flower doesn’t get a chance to evaporate gently.
>Overwatering in cold, waterlogged soil, which invites root rot far more than underwatering does
>Piling fresh mulch directly against the trunk instead of leaving a clear collar around the stem
>Fertilising heavily mid-winter and pushing soft growth straight into a frost
>Leaving fallen or diseased blooms on the ground, which lets petal blight spores overwinter and reinfect next year’s buds
>Using lime or alkaline soil amendments near camellias, which pushes pH away from the acidic range they prefer
Camellia Winter Care for Different NZ Climates
Region Type
Winter Temperature Range
Key Winter Focus
Warm/coastal (Auckland, Northland, Bay of Plenty)
Rarely below 5°C
Watch for wet-soil root rot and blight; frost protection rarely needed
Temperate (Wellington, Waikato, Hawke’s Bay)
0-10°C, occasional light frost
Shelter from wind, light frost cloth on cold nights for young plants
Cool/inland (Canterbury, Central Otago, Central Plateau)
Below 0°C possible
Deep mulch, frost cloth, avoid early morning sun exposure, protect pots
Frequently Asked Questions
Do camellias need protection from frost in New Zealand?
Most established camellias, especially japonica varieties, tolerate light New Zealand frosts well once acclimatised. Young plants, potted camellias, and open flowers are more vulnerable, so use frost cloth on forecast frosty nights in cooler inland regions and avoid early morning sun positions that can scorch frozen petals.
Should I water my camellia in winter?
Water sparingly in winter since camellias are semi-dormant and cold, waterlogged soil increases the risk of root rot. Only water when the top few centimetres of soil feel dry, and always prioritise good drainage over frequent watering.
Why are my camellia flowers turning brown?
Brown, mushy petals with a white powdery ring under the calyx point to camellia petal blight, a common fungal disease throughout New Zealand. Darker, greyish-black browning is more likely botrytis; both are best managed by removing affected blooms promptly and refreshing mulch each spring.
When is the best time to fertilise camellias in winter?
Avoid heavy feeding through the coldest winter months and wait until late winter (around August) when flower buds swell, applying a potassium-rich, acid-friendly fertiliser to boost blooming. The bigger feed
We use cookies to improve your experience, analyze traffic, and display personalized ads.
By clicking "Accept", you consent to the use of cookies in accordance with our Privacy Policy.