We use cookies to improve your experience, analyze traffic, and display personalized ads.
By clicking "Accept", you consent to the use of cookies in accordance with our Privacy Policy.
The Ultimate Basic Guide to Composting: Turn Garden Waste into Black Gold
Every master gardener knows that the secret to a thriving, heavy-yielding garden doesn’t start with the plants—it starts with the soil. If you are throwing away your kitchen scraps and yard waste, you are tossing out the raw ingredients for the most potent soil amendment on earth. Welcome to our basic guide to composting, where we will transform your household waste into nutrient-dense “black gold.”
Composting is the managed, aerobic decomposition of organic materials by microorganisms. Instead of sending grass clippings and vegetable peels to a landfill—where they produce harmful methane gas—you can harness nature’s recycling system right in your backyard. Whether you have a sprawling rural garden or a compact urban patio, mastering the composting process is the most impactful step you can take toward sustainable, high-performance gardening.
In this comprehensive guide, we will break down the exact science, methods, and actionable steps you need to build healthy soil, supercharge your plant growth, and eliminate unnecessary waste.
The Science of Composting: Greens, Browns, Air, and Water
At its core, composting is a biological fire. To keep that fire burning, the microorganisms in your compost pile require four essential elements: Nitrogen, Carbon, Oxygen, and Moisture. Understanding the balance between these elements is the key to fast, odor-free decomposition.
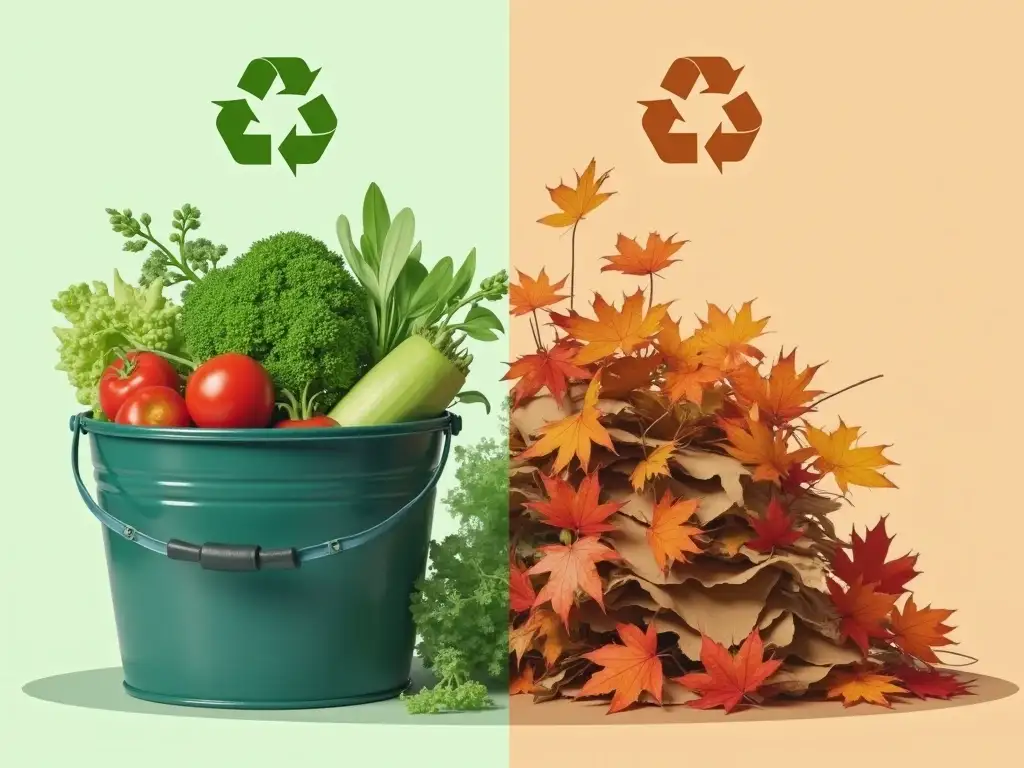
Nitrogen (The Greens)
Green materials are the protein-rich food source for your compost microbes. They heat up the pile and provide the nitrogen necessary for microorganisms to grow and reproduce rapidly. Despite the name, “greens” aren’t always green in color—they simply represent wet, fresh, nitrogen-heavy organic matter like kitchen scraps, fresh lawn clippings, and pulled weeds.
Carbon (The Browns)
Brown materials supply the carbon that acts as an energy source for your microbes. These materials provide structure to your pile, allowing oxygen to flow through. Browns are typically dry, woody, and bulky. Think fallen autumn leaves, shredded cardboard, straw, and dead branches.
The Perfect Composting Ratio
The golden rule of composting is achieving the right Carbon-to-Nitrogen (C:N) ratio. If you have too many greens, your pile will turn into a slimy, foul-smelling mess. If you have too many browns, the decomposition process will stall and take years. For best results, aim for a ratio of approximately 2 to 3 parts brown material for every 1 part green material by volume.
Compost Materials Checklist
Knowing exactly what to throw in your bin—and what to keep out—will save you from pests and foul odors.
Material
Category
Composting Speed
Notes & Best Practices
Vegetable & Fruit Scraps
Green (Nitrogen)
Fast
Chop into small pieces to accelerate breakdown.
Fresh Grass Clippings
Green (Nitrogen)
Fast
Add in thin layers to prevent matting and anaerobic slime.
Coffee Grounds
Green (Nitrogen)
Medium
Excellent nitrogen source, despite being brown in color.
Dried Leaves
Brown (Carbon)
Medium
Store excess autumn leaves in bags to use year-round.
Shredded Cardboard & Paper
Brown (Carbon)
Medium
Avoid glossy paper or heavily inked cardboard.
Wood Chips & Straw
Brown (Carbon)
Slow
Great for aerating the bottom of a new compost pile.
Meat, Dairy & Bones
DO NOT ADD
N/A
Attracts rodents and creates severe odor issues.
Diseased Plants & Weed Seeds
DO NOT ADD
N/A
Pathogens and invasive seeds may survive the process.
Step-by-Step: How to Start Composting
Ready to start building your pile? Follow these steps to establish a healthy, active composting system that produces rich soil amendments in just a few months.
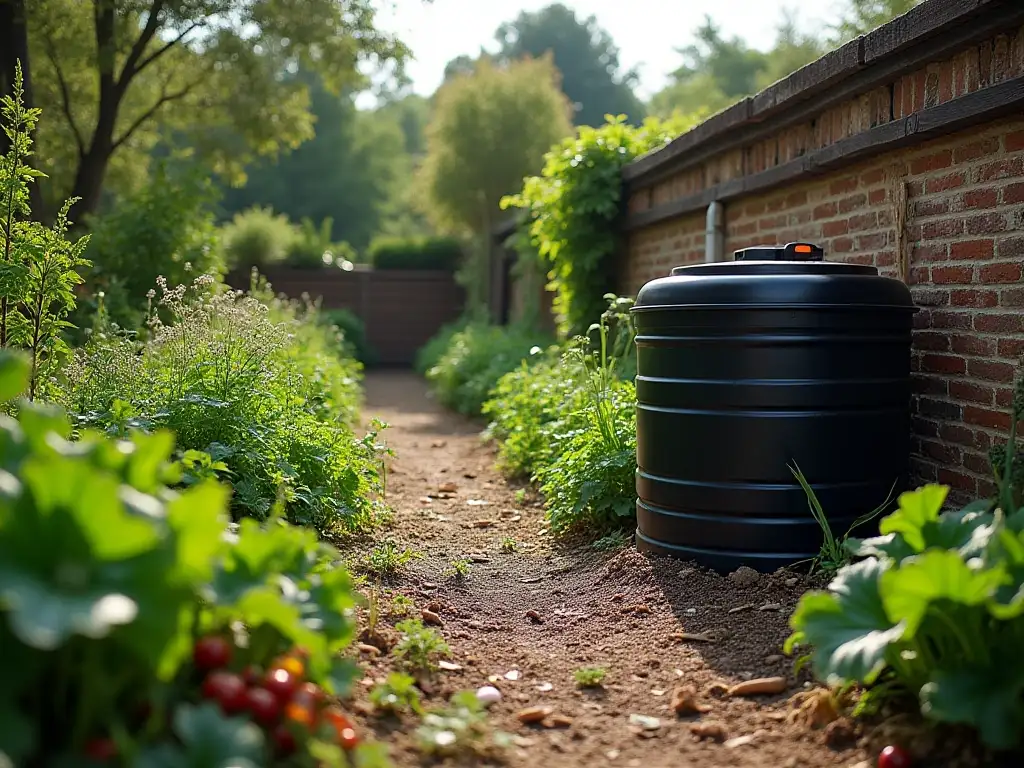
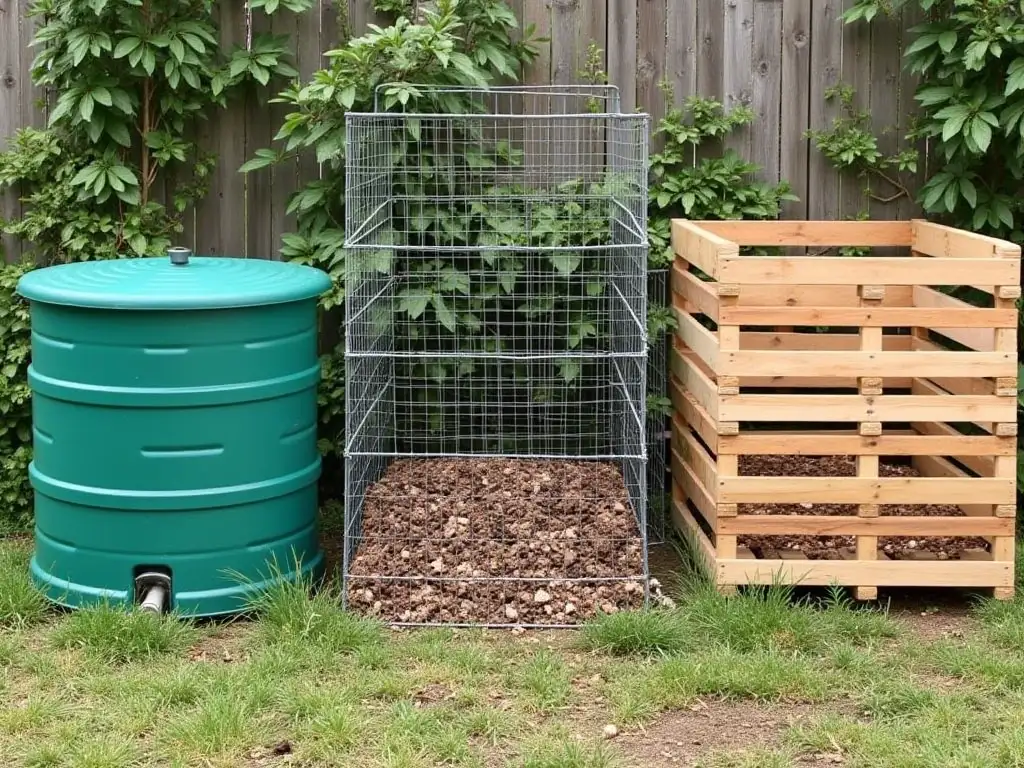
Step 1: Choose Your Composting System
Your space and dedication level will dictate your system. Tumblers are enclosed and easy to turn, making them great for small yards. Stationary black plastic bins retain heat and moisture well. For larger properties, a simple three-bay open wooden system allows you to manage multiple batches at different stages of decomposition.
Step 2: Pick the Perfect Location
Place your compost bin in a well-drained area with partial shade. Too much direct sun will bake the pile dry, instantly halting the microbial activity. Ensure the bin is placed directly on bare earth; this allows beneficial soil organisms like earthworms and natural fungi to migrate up into your waste.
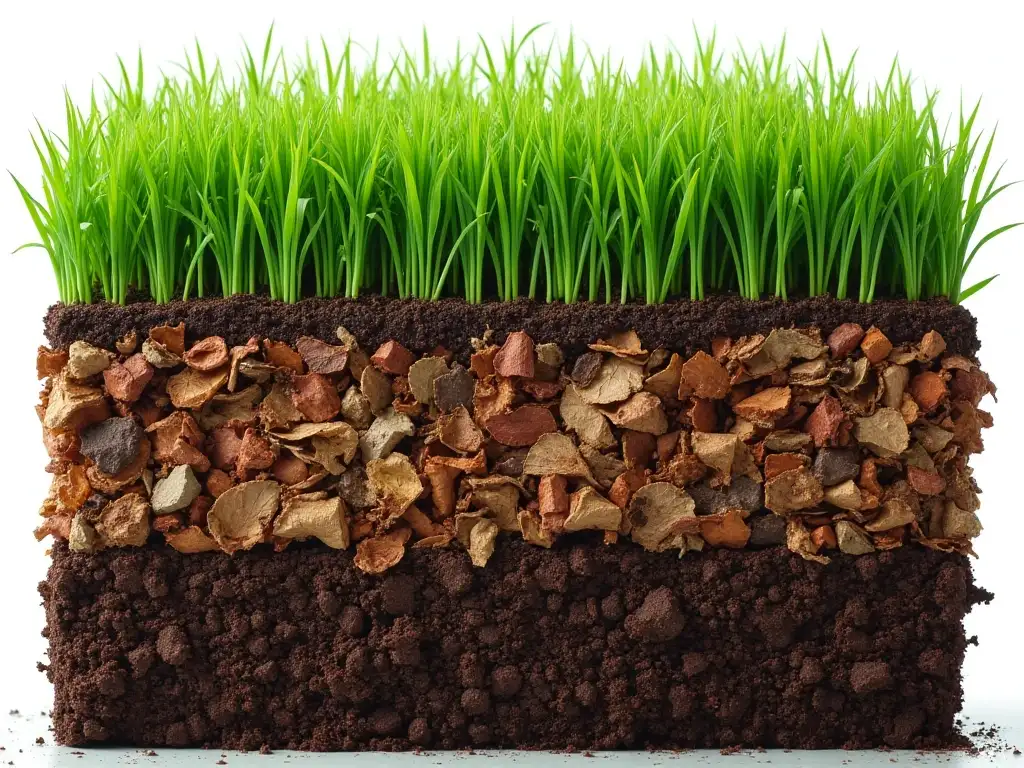
Step 3: The Lasagna Layering Method
Start your pile with a thick, 4-to-6-inch base layer of coarse brown material—like twigs or wood chips—to promote drainage and airflow at the bottom. Next, add a layer of green kitchen scraps or grass clippings. Follow this immediately with a layer of dry leaves or shredded paper. Continue alternating these green and brown layers, always ensuring that your top layer is brown to suppress odors and fruit flies.
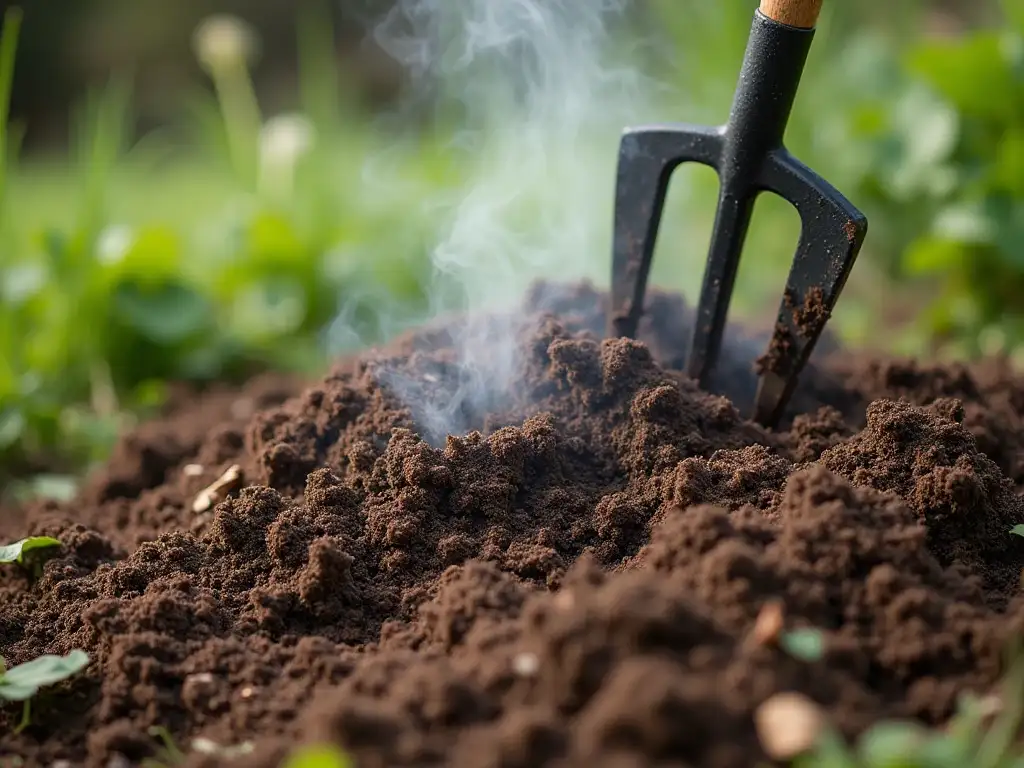
Your compost pile should feel like a wrung-out sponge—moist, but not dripping wet. Lightly water the pile as you build your layers. To keep the aerobic bacteria thriving, you must introduce oxygen. Use a garden fork or a spiral compost aerator tool to turn and mix the pile every one to two weeks. If you notice a foul, swampy smell, your pile lacks oxygen and needs immediate turning and an injection of dry browns.
Climate Considerations for Composting
Your local climate plays a massive role in how quickly your organic matter breaks down. Adjust your strategy based on your growing zone.
Cool Climates
In colder regions, microbial activity slows to a halt during winter freezes. To keep your compost active longer, use an enclosed, insulated black bin placed in a sunnier location than you normally would. Stockpile dry autumn leaves in a dry shed so you have plenty of carbon to mix with wet kitchen scraps during snowy months.
Temperate Climates
Temperate zones offer the ideal conditions for year-round composting. The primary focus here should be managing moisture during heavy spring rains. Keep a lid or a tarp over your compost pile to prevent it from becoming waterlogged, which will drown the beneficial aerobic bacteria.
Warm and Arid Climates
In hot, dry regions, the biggest threat to your compost is dehydration. A dry pile will not decompose. Place your compost system in full shade and be prepared to water it manually with your hose once a week. Building larger, denser piles helps retain internal moisture against the scorching heat.
5 Common Beginner Composting Mistakes to Avoid
Even seasoned gardeners hit roadblocks. Watch out for these common pitfalls that can ruin a batch of compost.
Smothering with Grass Clippings: Dumping an entire lawn’s worth of fresh clippings into a bin creates a dense, impenetrable mat that goes anaerobic and smells like ammonia. Always mix grass with dry leaves or straw.
Letting the Pile Dry Out: Microbes need a water film to move and consume waste. If your pile looks dusty and nothing is breaking down, grab the hose.
Composting Pet Waste: Never put dog or cat feces into your standard garden compost. They carry dangerous pathogens and parasites that can transfer to your food crops.
Forgetting the Browns: The most common reason piles smell bad and turn to sludge is a severe lack of carbon. Always keep a bale of straw or a bag of leaves next to your bin to cover fresh kitchen scraps.
Adding Pernicious Weeds: Avoid tossing bindweed, couch grass, or weeds that have gone to seed into a cold compost pile. Unless your pile consistently reaches 140°F (60°C), those seeds will survive and infest your garden later.
Integrating Compost into Your Gardening Ecosystem
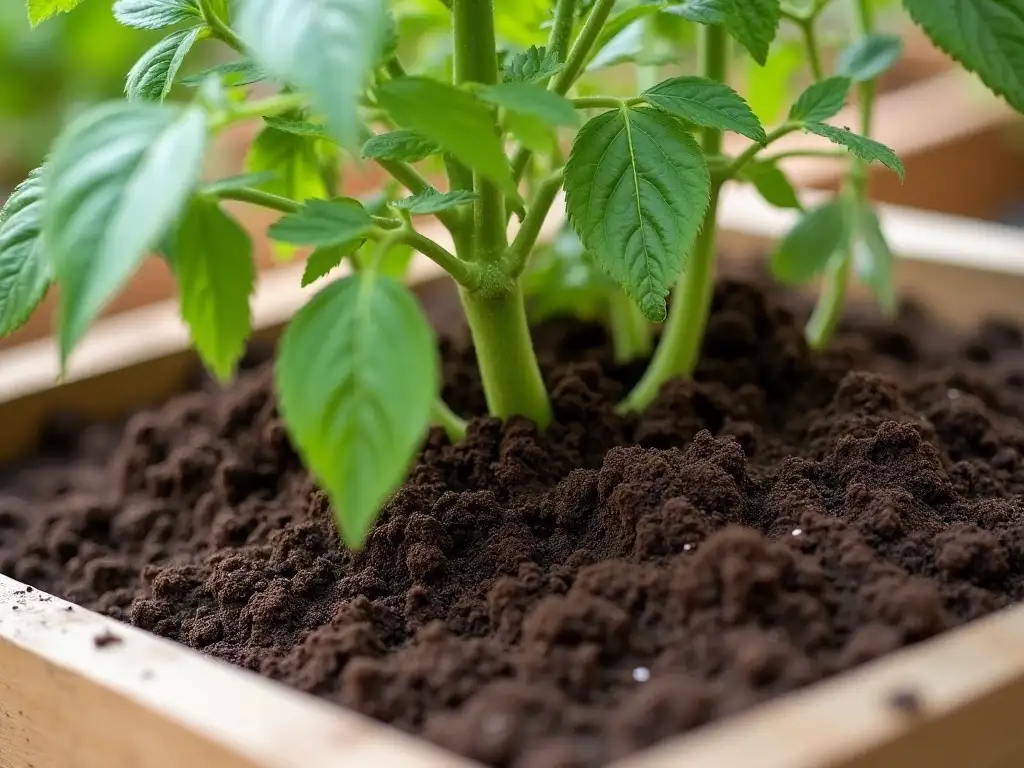
Once your compost is dark, crumbly, and smells like a forest floor, it is ready to use. This finished compost is the ultimate foundation for every aspect of your garden layout.
When filling your raised beds, blending 30% finished compost with high-quality commercial soil mixes creates the perfect aerated, moisture-retentive environment for heavy-feeding vegetables. If you are starting premium heirloom seeds indoors under grow lights, sift your compost through a fine mesh screen to create a nutrient-dense, pathogen-free seedling mix.
Compost also acts as an incredible surface mulch. Applying a two-inch layer around your established plants helps retain soil moisture, allowing your automated irrigation systems to work more efficiently while slowly leaching nutrients down to the root zone. Remember, while compost improves soil structure incredibly well, it is not a pure fertilizer substitute; you should still supplement heavy-yielding crops with organic liquid fertilizers during peak fruiting phases.
Frequently Asked Questions
How long does it take for compost to be ready?
The timeline depends entirely on your method and climate. A hot, actively turned pile with the perfect carbon-to-nitrogen ratio can produce finished compost in as little as 6 to 8 weeks during the summer. A passive, cold compost pile that is rarely turned may take 6 to 12 months to fully break down into usable organic matter.
Can I compost if I live in an apartment?
Yes! Apartment dwellers can use vermicomposting (worm bins) or the Bokashi fermentation method indoors. Worm bins utilize red wiggler worms to consume kitchen scraps, producing incredibly rich worm castings. Bokashi uses inoculated bran to ferment waste in an airtight container, which can later be buried in community gardens or larger planter pots.
Why does my compost pile smell like rotten eggs?
A rotten egg or sulfur smell indicates that your compost pile has gone anaerobic (lacking oxygen). This usually happens when the pile is too wet or contains too much green, nitrogen-rich material. Fix this immediately by turning the pile vigorously with a garden fork and mixing in dry brown materials like shredded cardboard or dry leaves.
Do I need to buy a compost starter or activator?
While commercial compost starters contain beneficial microbes that can kickstart a pile, they are not strictly necessary. You can achieve the same result by throwing a few shovelfuls of healthy garden soil or finished compost into your new pile. Adding a handful of organic plant food or blood and bone meal also provides a great nitrogen spike to accelerate heating.
Are citrus peels and onions safe to compost?
Yes, but in moderation. Citrus peels and onions are highly acidic and contain natural oils that can temporarily slow down microbial activity. In a large, well-balanced pile, they will break down perfectly fine. However, if you are using a small worm bin, avoid adding large quantities of citrus and onions, as worms will actively avoid them.
Conclusion
Mastering the art of soil building is a rite of passage for every dedicated grower. By following this basic guide to composting, you are doing much more than just throwing away waste—you are engineering the biological foundation of your future harvests. Balance your greens and browns, keep the pile aerated, and remain patient. Within a few short months, you will be rewarded with rich, dark compost that will dramatically reduce your need for synthetic chemicals and push your garden’s yields to new heights. Get out there, set up your bin, and start turning that waste into black gold today!


Leave a Reply